How to Export Assets
Overview
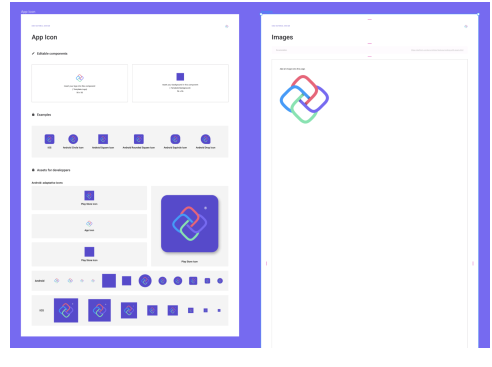
The toolkit now includes handy App Icon and Image asset exporting templates. These templates are preset to generate all necessary sizes for cross-platform projects. You can find these templates on the Theme page of the Uno Figma Toolkit.

Guidelines
- Android app icons include background resources. These do not display a logo and should be left as is.
- The Uno NavigationBar component currently requires the generation of image assets for any icons you choose to use within it.
- If you have multiple color themes in your project, such as Light and Dark, generate image assets for each of these where necessary.
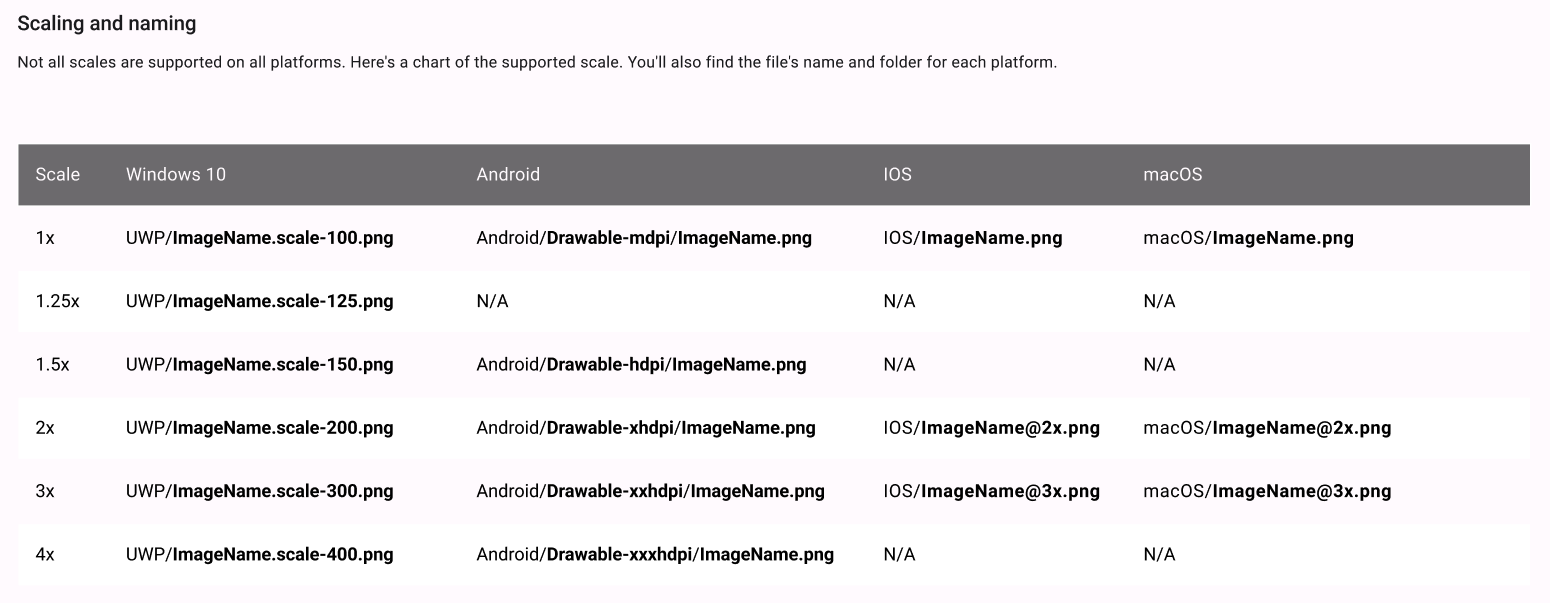
- Not all scales are supported for every platform, so it may be required to generate some extra assets manually.

Steps to Generate App Icons
- Go to the Theme page from the Figma Page pane.
- Navigate to the App Icon layout.
- Delete the Uno placeholder logo in the first Editable Component at the top of the page where it says "Insert your logo into this component".
- Paste the logo into the component. This should update all the app icons below.
- In the Background Frame, select the “Edit me” layer.
- From the Figma Design pane on the right of the screen, update the app Icon’s background color. This should update all app icons below.
- Select the entire App Icon layout.
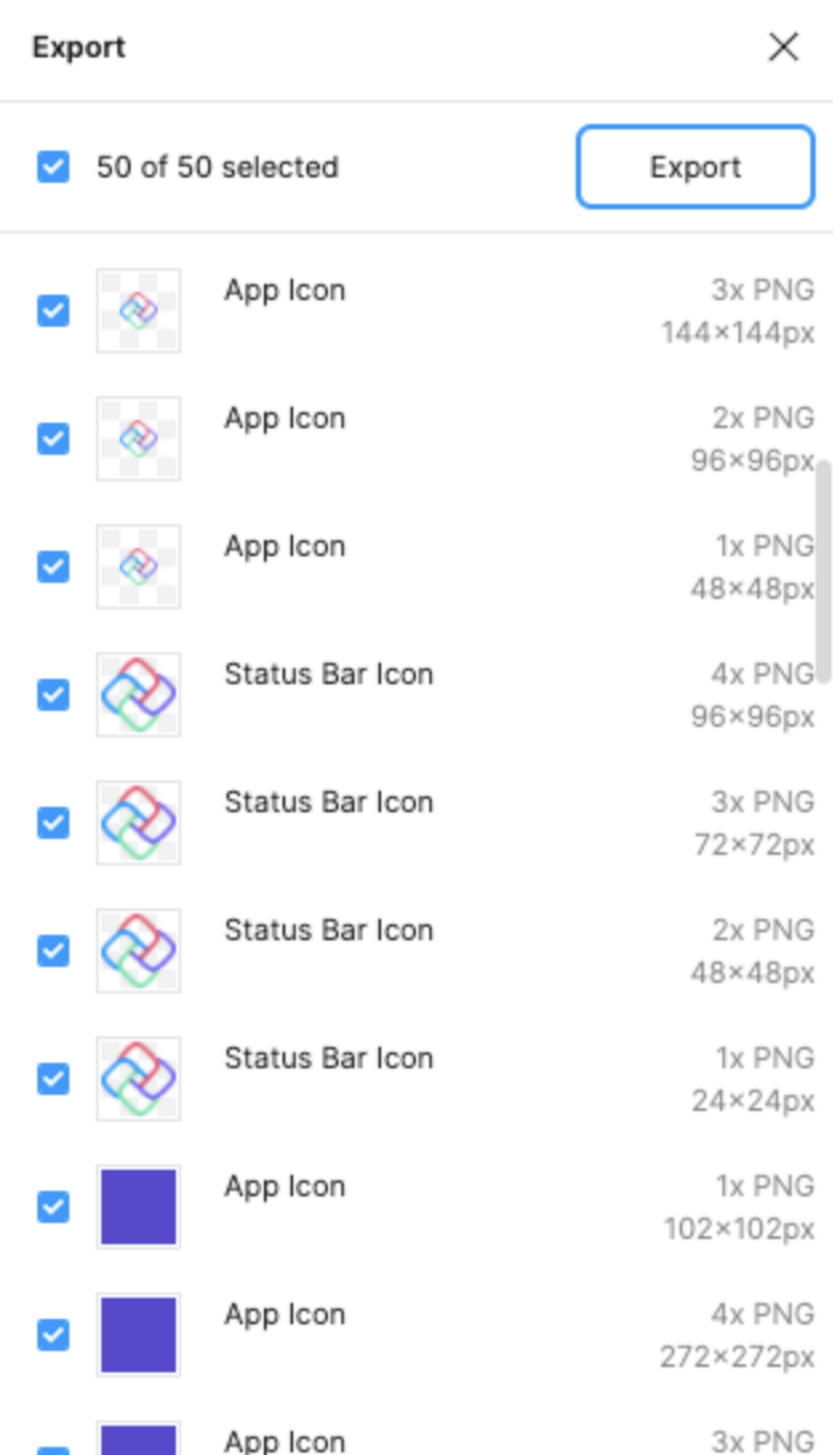
- From the file menu, select Export.
- In the Export panel, review and click Export.
- In the file browser window, select the disk location to save the assets.
Steps to Generate Other Image Assets
- Go to the Theme page from the Figma Page pane.
- Navigate to the Images layout.
- Delete the Uno placeholder logo in the layout where it says “Insert your images into this component”.
- Paste all images into the “Images” frame.
- Select the entire "Images" layout.
- From the file menu, select "Export".
- In the Export panel, review and click "Export".
- In the file browser window, select the disk location to save the assets. The proper folder structure will be generated to house all asset resolutions.
