How to set up an MVUX project
UnoFeatures:
MVUX(add to<UnoFeatures>in your.csproj)
In this tutorial, you'll learn how to set up an Uno Platform project to use MVUX.
Note
Make sure to setup your environment first by following our instructions.
Creating a new Uno app with MVUX
Make sure your environment is set up properly by using uno check.
You can create an Uno Platform App by either using the Uno Platform Visual Studio extension or via the command line interface.
Using Visual Studio 2022 Uno Platform Extension
Make sure you have the latest version of Uno Extension (v4.8 or higher) installed.

Press Ctrl+Shift+N to create a new project and select "Uno Platform App".
Give your project an appropriate name.
When prompted select the Blank template under the Presets section.
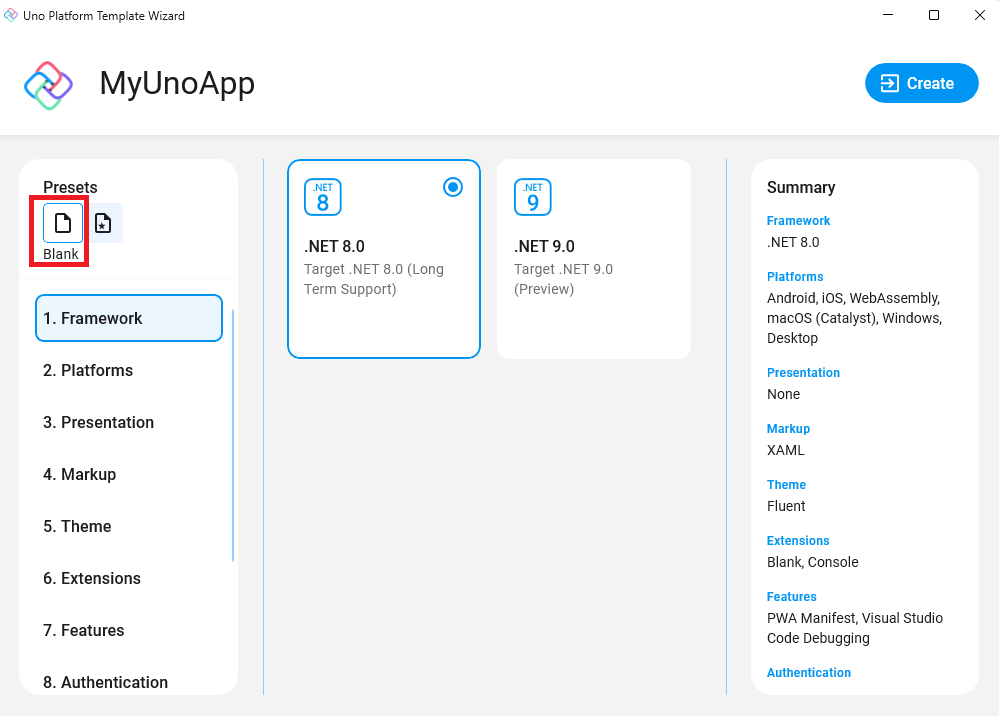
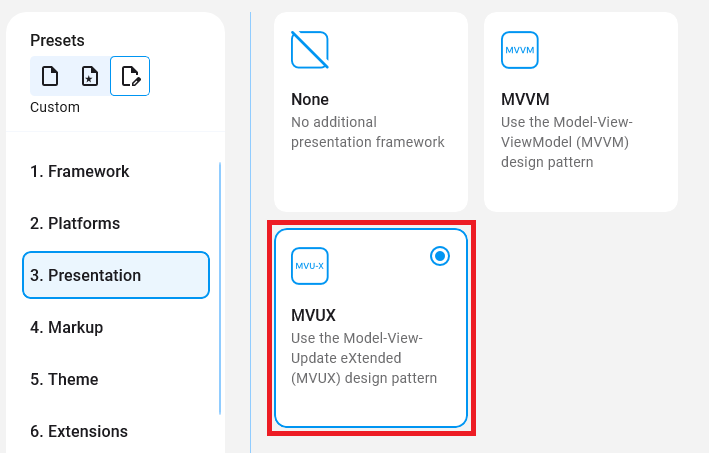
In the Presentation tab (3rd one), select MVUX.
Click Create on the bottom right corner.
Add MVUX to an existing Uno app
Important
This guide assumes you created your app using the Single Project template. If you used a different template, please refer to our Migrating Projects to Single Project documentation.
MVUX is provided as an Uno Feature. To enable MVUX support in your application, add MVUX to the <UnoFeatures> property in the Class Library (.csproj) file.
<UnoFeatures>
    Material;
    Extensions;
+   MVUX;
    Toolkit;
</UnoFeatures>
For more information about UnoFeatures refer to our Using the Uno.Sdk docs.