Get Started on JetBrains Rider
Prerequisites
- Rider Version 2024.2+ or Previous Rider Version 2024.1
- Rider Xamarin Android Support plugin from Rider in Settings / Plugins
Check your environment
Open a command-line prompt, Windows Terminal if you have it installed, or else Command Prompt or Windows Powershell from the Start menu.
Setup uno.check by installing or updating the tool with:
dotnet tool update -g uno.checkRun the tool from the command prompt with the following command:
uno-checkYou can optionally add the
--target desktop --target web(orios,android,windows) parameters based on your intended development platforms.Follow the instructions indicated by the tool.
You can find additional information about uno-check here.
Supported Platforms
| Rider for Windows | Rider for Mac | Rider for Linux | |
|---|---|---|---|
| Windows (WinUI) | ✔️ | ❌ | ❌ |
| Android | ✔️ | ✔️ | ✔️ |
| iOS | ❌ | ✔️ | ❌ |
| Wasm | ✔️† | ✔️† | ✔️† |
| Skia Desktop | ✔️ | ✔️ | ✔️ |
† Notes (Click to expand)
- WebAssembly: debugging from the IDE is not available yet on Rider. You can use the Chromium in-browser debugger instead.
Install the Uno Platform plugin
In Rider, in the Settings, Plugins menu, open the Marketplace tab, then search for Uno Platform:
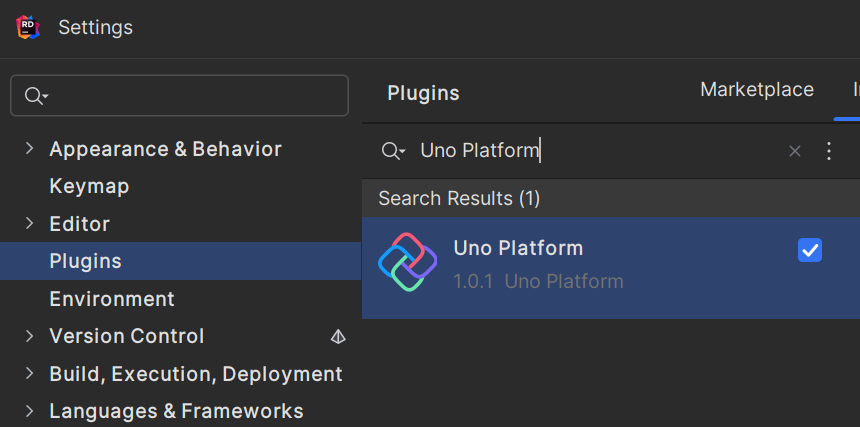
Then click the install button.
Platform-specific setup
You may need to follow additional directions, depending on your development environment.
Android & iOS
For assistance configuring Android or iOS emulators, see the Android & iOS emulator troubleshooting guide.
Linux
Install the required dependencies:
sudo apt update
sudo apt install mesa-utils libgl1-mesa-glx ttf-mscorefonts-installer dbus libfontconfig1 libxrandr2 libxi-dev
You may also need to install the Microsoft fonts manually.
If you are using Windows Subsystem for Linux (WSL), you can find specific instructions in the following video:
Next Steps
You're all set! You can create your first Uno Platform app.
Important
Project templates from Uno Platform 5.3 or later are needed to use Rider. See our migration guide to upgrade.
Important
Depending on the version of Rider you will want to use, here are some additional information that you will want to know:
Current Rider (2024.2 and above): For the current Rider version, the Uno Platform plugin supports creating Uno Platform projects using the "New Solution" dialog.
Previous Rider (2024.1): The Uno Plugin for previous versions of Rider (2024.1) does not support creating Uno Platform projects using the "New Solution" dialog, even if the Uno Platform project template appears. In this case, creating an Uno Platform project is done using dotnet new and the Uno Platform Live Wizard.