Uno Cupertino
Important
UnoFeatures: Cupertino — add <UnoFeatures>Cupertino</UnoFeatures> to your app's .csproj to enable Uno Cupertino.
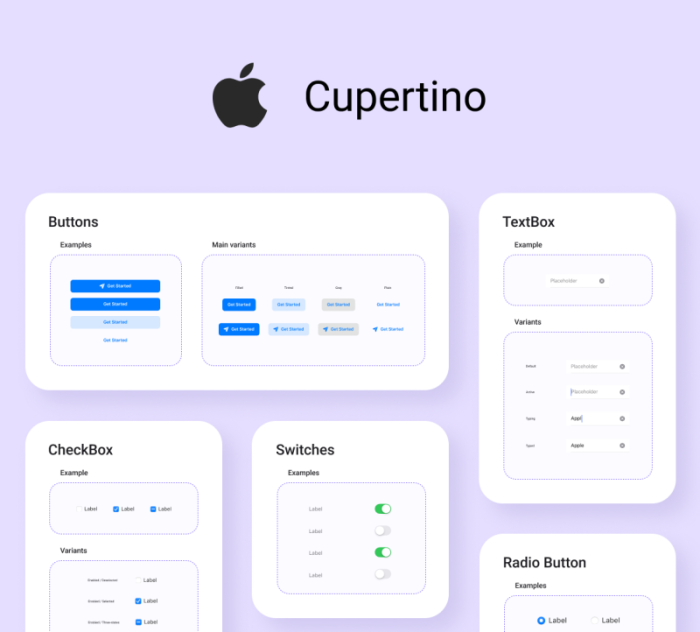
Uno Cupertino is enabled through the Cupertino UnoFeatures and lets you apply Cupertino - Human Interface Guideline styling to your application with a few lines of code.
Getting Started
Note
Make sure to setup your environment first by following our instructions.
Creating a new project with Uno Cupertino
Install the
dotnet newCLI templates with:dotnet new install Uno.TemplatesCreate a new application with:
dotnet new unoapp -o UnoCupertinoApp -theme cupertino
Installing Uno Cupertino in an existing project
Depending on the type of project template that the Uno Platform application was created with, follow the instructions below to install Uno Cupertino.
- Single Project Template
- Multi-Head Project Template (Legacy)
- Shared Project (.shproj) Template (Legacy)
Edit your project file (
PROJECT_NAME.csproj) and addCupertinoto the list ofUnoFeatures:<UnoFeatures>Cupertino</UnoFeatures>Initialize the Cupertino resources in the
App.xaml:<Application.Resources> <ResourceDictionary> <ResourceDictionary.MergedDictionaries> <!-- Code ommitted of brevity --> <uc:CupertinoColors xmlns="using:Uno.Cupertino" /> <uc:CupertinoFonts xmlns="using:Uno.Cupertino" /> <uc:CupertinoResources xmlns="using:Uno.Cupertino" /> </ResourceDictionary.MergedDictionaries> </ResourceDictionary> </Application.Resources>
Customization
The following guides require the creation of new ResourceDictionary files in your application project. For more information on how to define styles and resources in a separate ResourceDictionary, refer to the resource management documentation.
Customize Color Palette
Add a new Resource Dictionary named
CupertinoColorsOverride.xamlto the application project, for example, underStyles/Application.Replace the content with:
<ResourceDictionary xmlns="http://schemas.microsoft.com/winfx/2006/xaml/presentation"
                    xmlns:x="http://schemas.microsoft.com/winfx/2006/xaml">
    <ResourceDictionary.ThemeDictionaries>

        <!-- Light Theme -->
        <ResourceDictionary x:Key="Light">
            <!-- Override CupertinoBlueBrush -->
            <Color x:Key="CupertinoBlueBrush">#6750A4</Color>

            <!-- Add more overrides here -->
            <!-- ... -->
        </ResourceDictionary>

        <!-- Dark Theme -->
        <ResourceDictionary x:Key="Dark">
            <!-- Override CupertinoBlueBrush -->
            <Color x:Key="CupertinoBlueBrush">#D0BCFF</Color>

            <!-- Add more overrides here -->
            <!-- ... -->
        </ResourceDictionary>

    </ResourceDictionary.ThemeDictionaries>
</ResourceDictionary>
In
App.xaml, update<CupertinoColors />with the override from the previous steps:<CupertinoColors xmlns="using:Uno.Cupertino" OverrideSource="ms-appx:///Styles/Application/CupertinoColorsOverride.xaml" />
Change Default Font
By default, Uno Cupertino comes pre-packaged with the SF Pro FontFamily and automatically includes them in your application. Upon installation of the Uno Cupertino package, you will have a CupertinoFontFamily resource available.
If you would like Uno Cupertino to use a different font, you can override the default FontFamily by following these steps:
Add the custom font following Custom Fonts documentation.
Add a new Resource Dictionary named
CupertinoFontsOverride.xamlto the application project, for example, underStyles/Application.Assuming the font file has been placed in a directory such as
Assets/Fonts/MyCustomFont.ttf, your override file would look like the following:<ResourceDictionary xmlns="http://schemas.microsoft.com/winfx/2006/xaml/presentation" xmlns:x="http://schemas.microsoft.com/winfx/2006/xaml"> <FontFamily x:Key="CupertinoFontFamily">ms-appx:///Assets/Fonts/MyCustomFont.ttf</FontFamily> </ResourceDictionary>In the
App.xaml, update<CupertinoFonts />with the override from the previous steps:<CupertinoFonts xmlns="using:Uno.Cupertino" OverrideSource="ms-appx:///Styles/Application/CupertinoFontsOverride.xaml" />