How-To: Getting Started
This tutorial will walk you through how to create an Uno application with Uno.Extensions using the Wizard and CLI and how to install Uno.Extensions to an existing Uno application.
Note
Make sure to setup your environment first by following our instructions.
Creating a new application
1. Creating the app
Create an Uno Platform app with Wizard
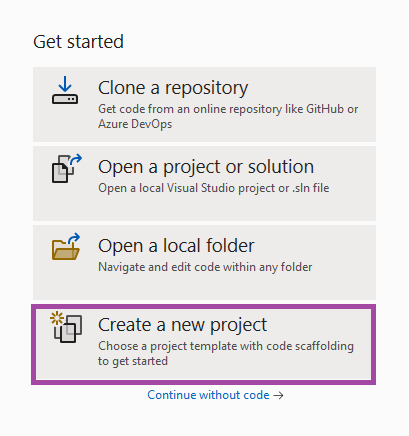
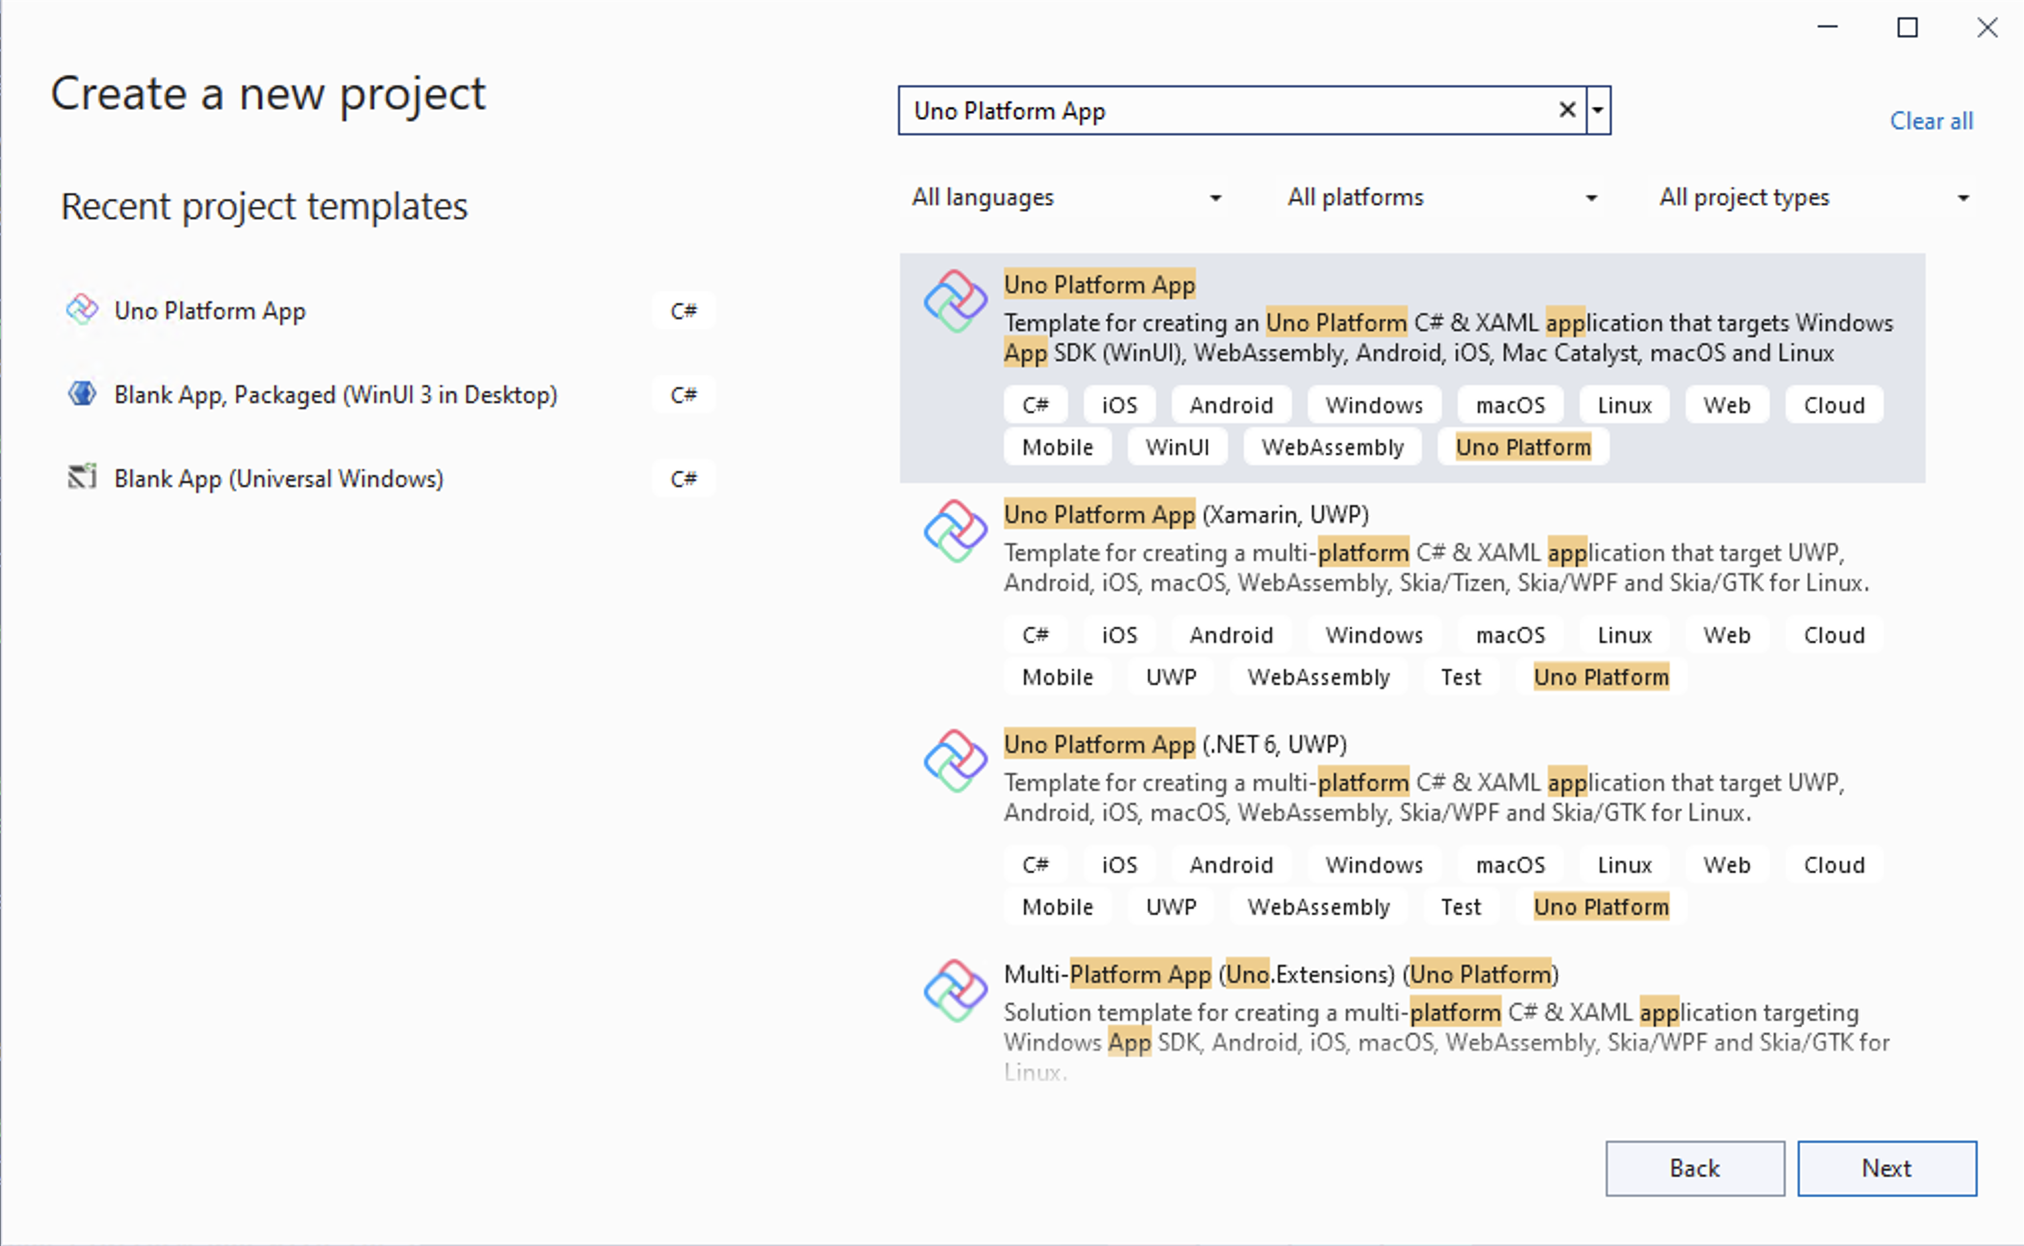
Create a new C# solution using the Uno Platform App template, from Visual Studio's Start Page, then click the Next button
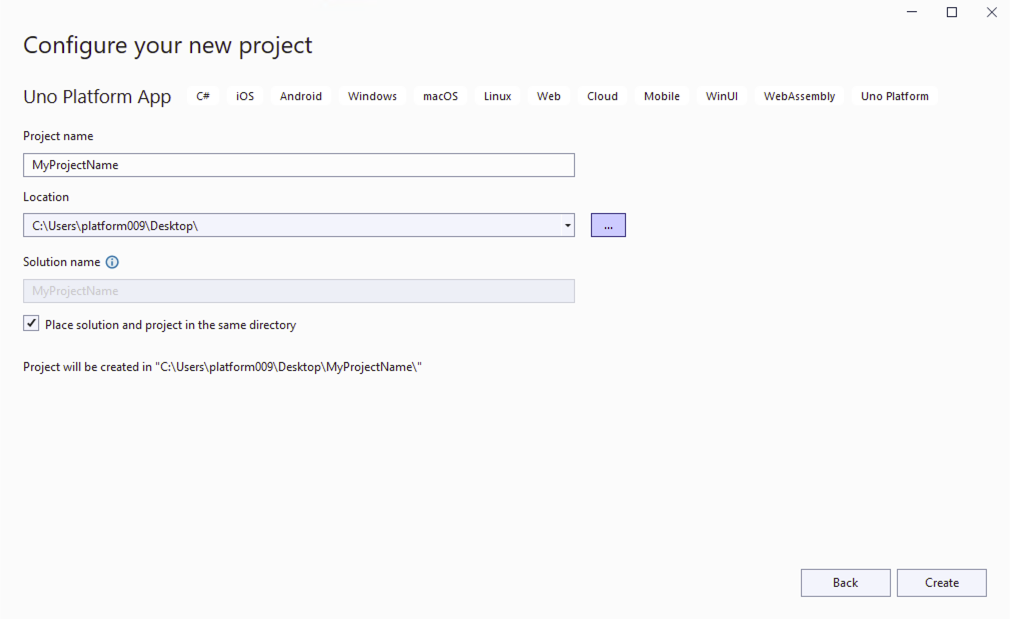
Configure your new project by providing a project name and a location, check the "Place solution and project in the same directory" option, then click the Create button
Choose the Recommended preset to build your application
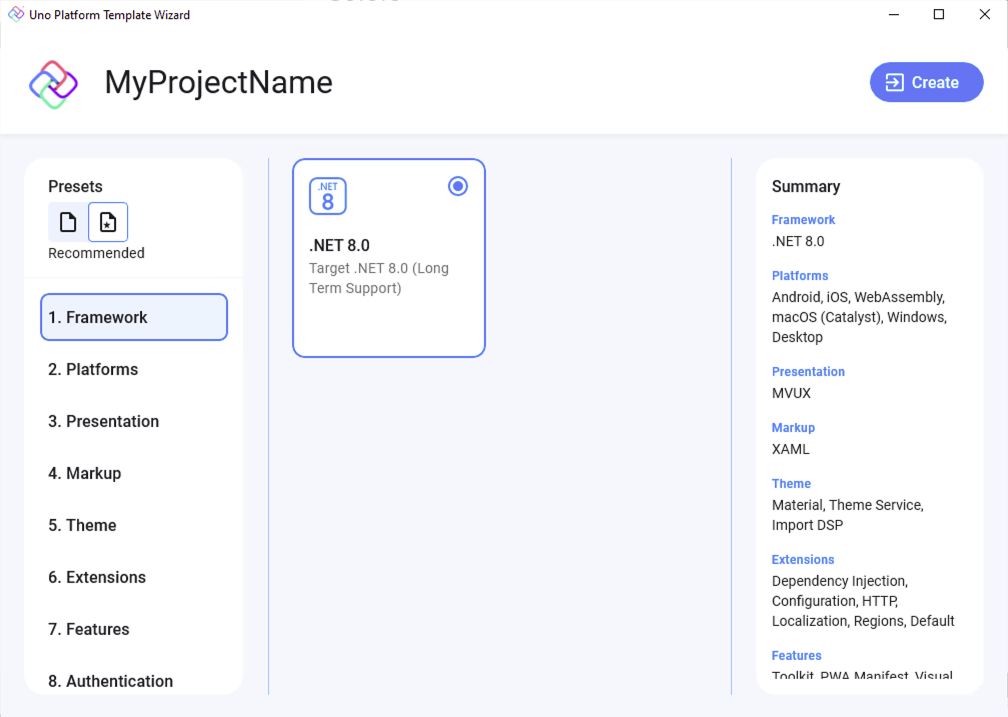
Tip
For a detailed overview of the Uno Platform project template wizard and all its options, see this.
Click the create button
Wait for the projects to be created, and their dependencies to be restored
A banner at the top of the editor may ask to reload projects, click Reload projects:

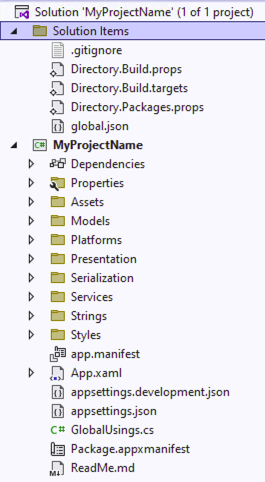
2. Exploring the Solution
The generated solution will contain MyProjectName for application logic, including constructs like ViewModels and services, along with the pages, controls, and other views constituting the UI of the application.
3. Running the Application
Select a target from the drop-down as pictured below
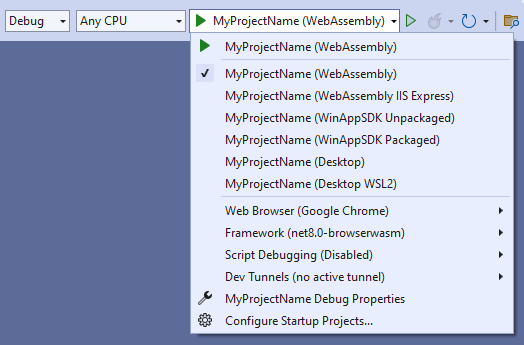
Click the "play" button, or press F5 to start debugging. The project will be compiled and deployed based on the target platform. For more detailed instructions specific to each platform, refer to the Debug the App documentation.
Installing Extensions in an existing project
To get started with Extensions in your project, follow these steps:
Step 1: Add Hosting to Your Project
Hosting is the foundation for using Extensions. Begin by adding Hosting to your project. Refer to the detailed instructions in the Hosting Setup Documentation.
Step 2: Configure the OnLaunched Method
After setting up Hosting, adjust the OnLaunched method in App.xaml.cs to initialize the Extensions features. Ensure you have added the necessary Uno Platform Features.
Update the Configure method as shown below:
var builder = this.CreateBuilder(args)
    .Configure(host => host
        // Configure the host builder
        .UseConfiguration(...)
        .UseLocalization()
        .UseSerialization(...)
        .UseHttp(...)
    );
Add a protected property named Host of type IHost to your App.xaml.cs file:
protected IHost? Host { get; private set; }
After creating the builder, initialize the Host by building it:
Host = builder.Build();
Step 3: Use the Builder to Create the Main Window
Finally, instead of directly creating an instance of a Window using MainWindow = new Window(), use the builder to set up the main window:
-MainWindow = new Window();

var builder = this.CreateBuilder(args)
    .Configure(host => host
        // Configure the host builder
    );

+MainWindow = builder.Window;

Host = builder.Build();

if (MainWindow.Content is not Frame rootFrame)
{
    rootFrame = new Frame();
    MainWindow.Content = rootFrame;
}

if (rootFrame.Content == null)
{
    rootFrame.Navigate(typeof(MainPage), args.Arguments);
}

MainWindow.Activate();
Important
Be sure to remove any other code that sets MainWindow to prevent conflicts in your application.