Getting Started with Uno Toolkit
UnoFeatures: Toolkit (add to <UnoFeatures> in your .csproj)
Uno Toolkit Library
The Uno Toolkit library is available as NuGet packages, but for Single Project apps the recommended way to add them is through the UnoFeatures project property.
This article is a guide for installing the base Uno Toolkit library, additional steps are needed when installing the Toolkit support libraries for Uno Material and Uno Cupertino. Most controls within the base Uno Toolkit library are not designed to be used without an underlying design system installed. Refer to the following guides for Material/Cupertino support:
Installation
Creating a new project with Uno Toolkit
Follow the steps in the Getting Started with Visual Studio instructions to launch the Uno Platform Template Wizard.
Select
Toolkitunder theFeaturessection.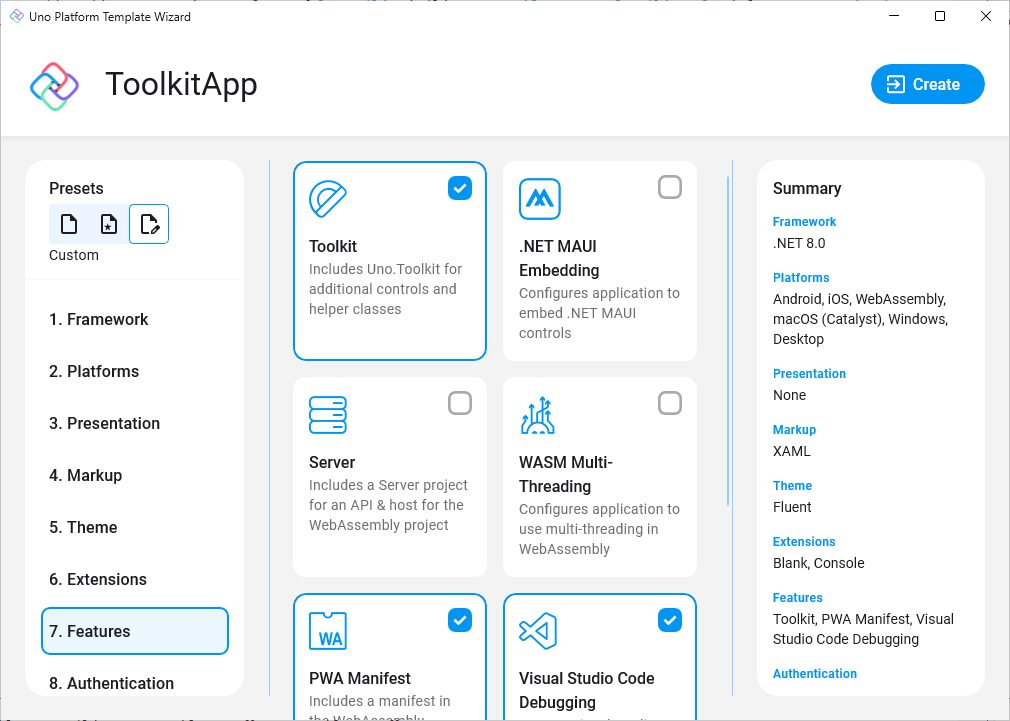
Installing Uno Toolkit in an existing project
Depending on the type of project template that the Uno Platform application was created with, follow the instructions below to install Uno Toolkit.
- Single Project Template
- Multi-Head Project Template (Legacy)
- Shared Project (.shproj) Template (Legacy)
Edit your project file (
PROJECT_NAME.csproj) and addToolkitto the list ofUnoFeatures:<UnoFeatures>Toolkit</UnoFeatures>Initialize
ToolkitResourcesin theApp.xaml:<Application.Resources> <ResourceDictionary> <ResourceDictionary.MergedDictionaries> <!-- Code omitted of brevity --> <ToolkitResources xmlns="using:Uno.Toolkit.UI" /> </ResourceDictionary.MergedDictionaries> </ResourceDictionary> </Application.Resources>
Note
If you are using the Uno.Toolkit.WinUI.Material or Uno.Toolkit.WinUI.Cupertino NuGet packages, follow the steps in the Getting Started with Material for Toolkit or Getting Started with Cupertino for Toolkit guides instead as they already include the base Uno Toolkit library.
Using C# Markup
The Uno Toolkit library also has support for C# Markup through a Uno.Toolkit.WinUI.Markup NuGet Package.
To get started with Uno Toolkit in your C# Markup application, add the Uno.Toolkit.WinUI.Markup NuGet package to your application project and add the following code to your App.cs:
using Uno.Toolkit.UI.Markup;

this.Build(r => r.UseToolkit());
Note
If you are using the Uno.Toolkit.WinUI.Material.Markup NuGet package, follow the steps in the Using C# Markup for the Material Toolkit guide instead as it includes the base Uno Toolkit Markup library.