Apple Sign-In Button with MAUI Embedding in Uno
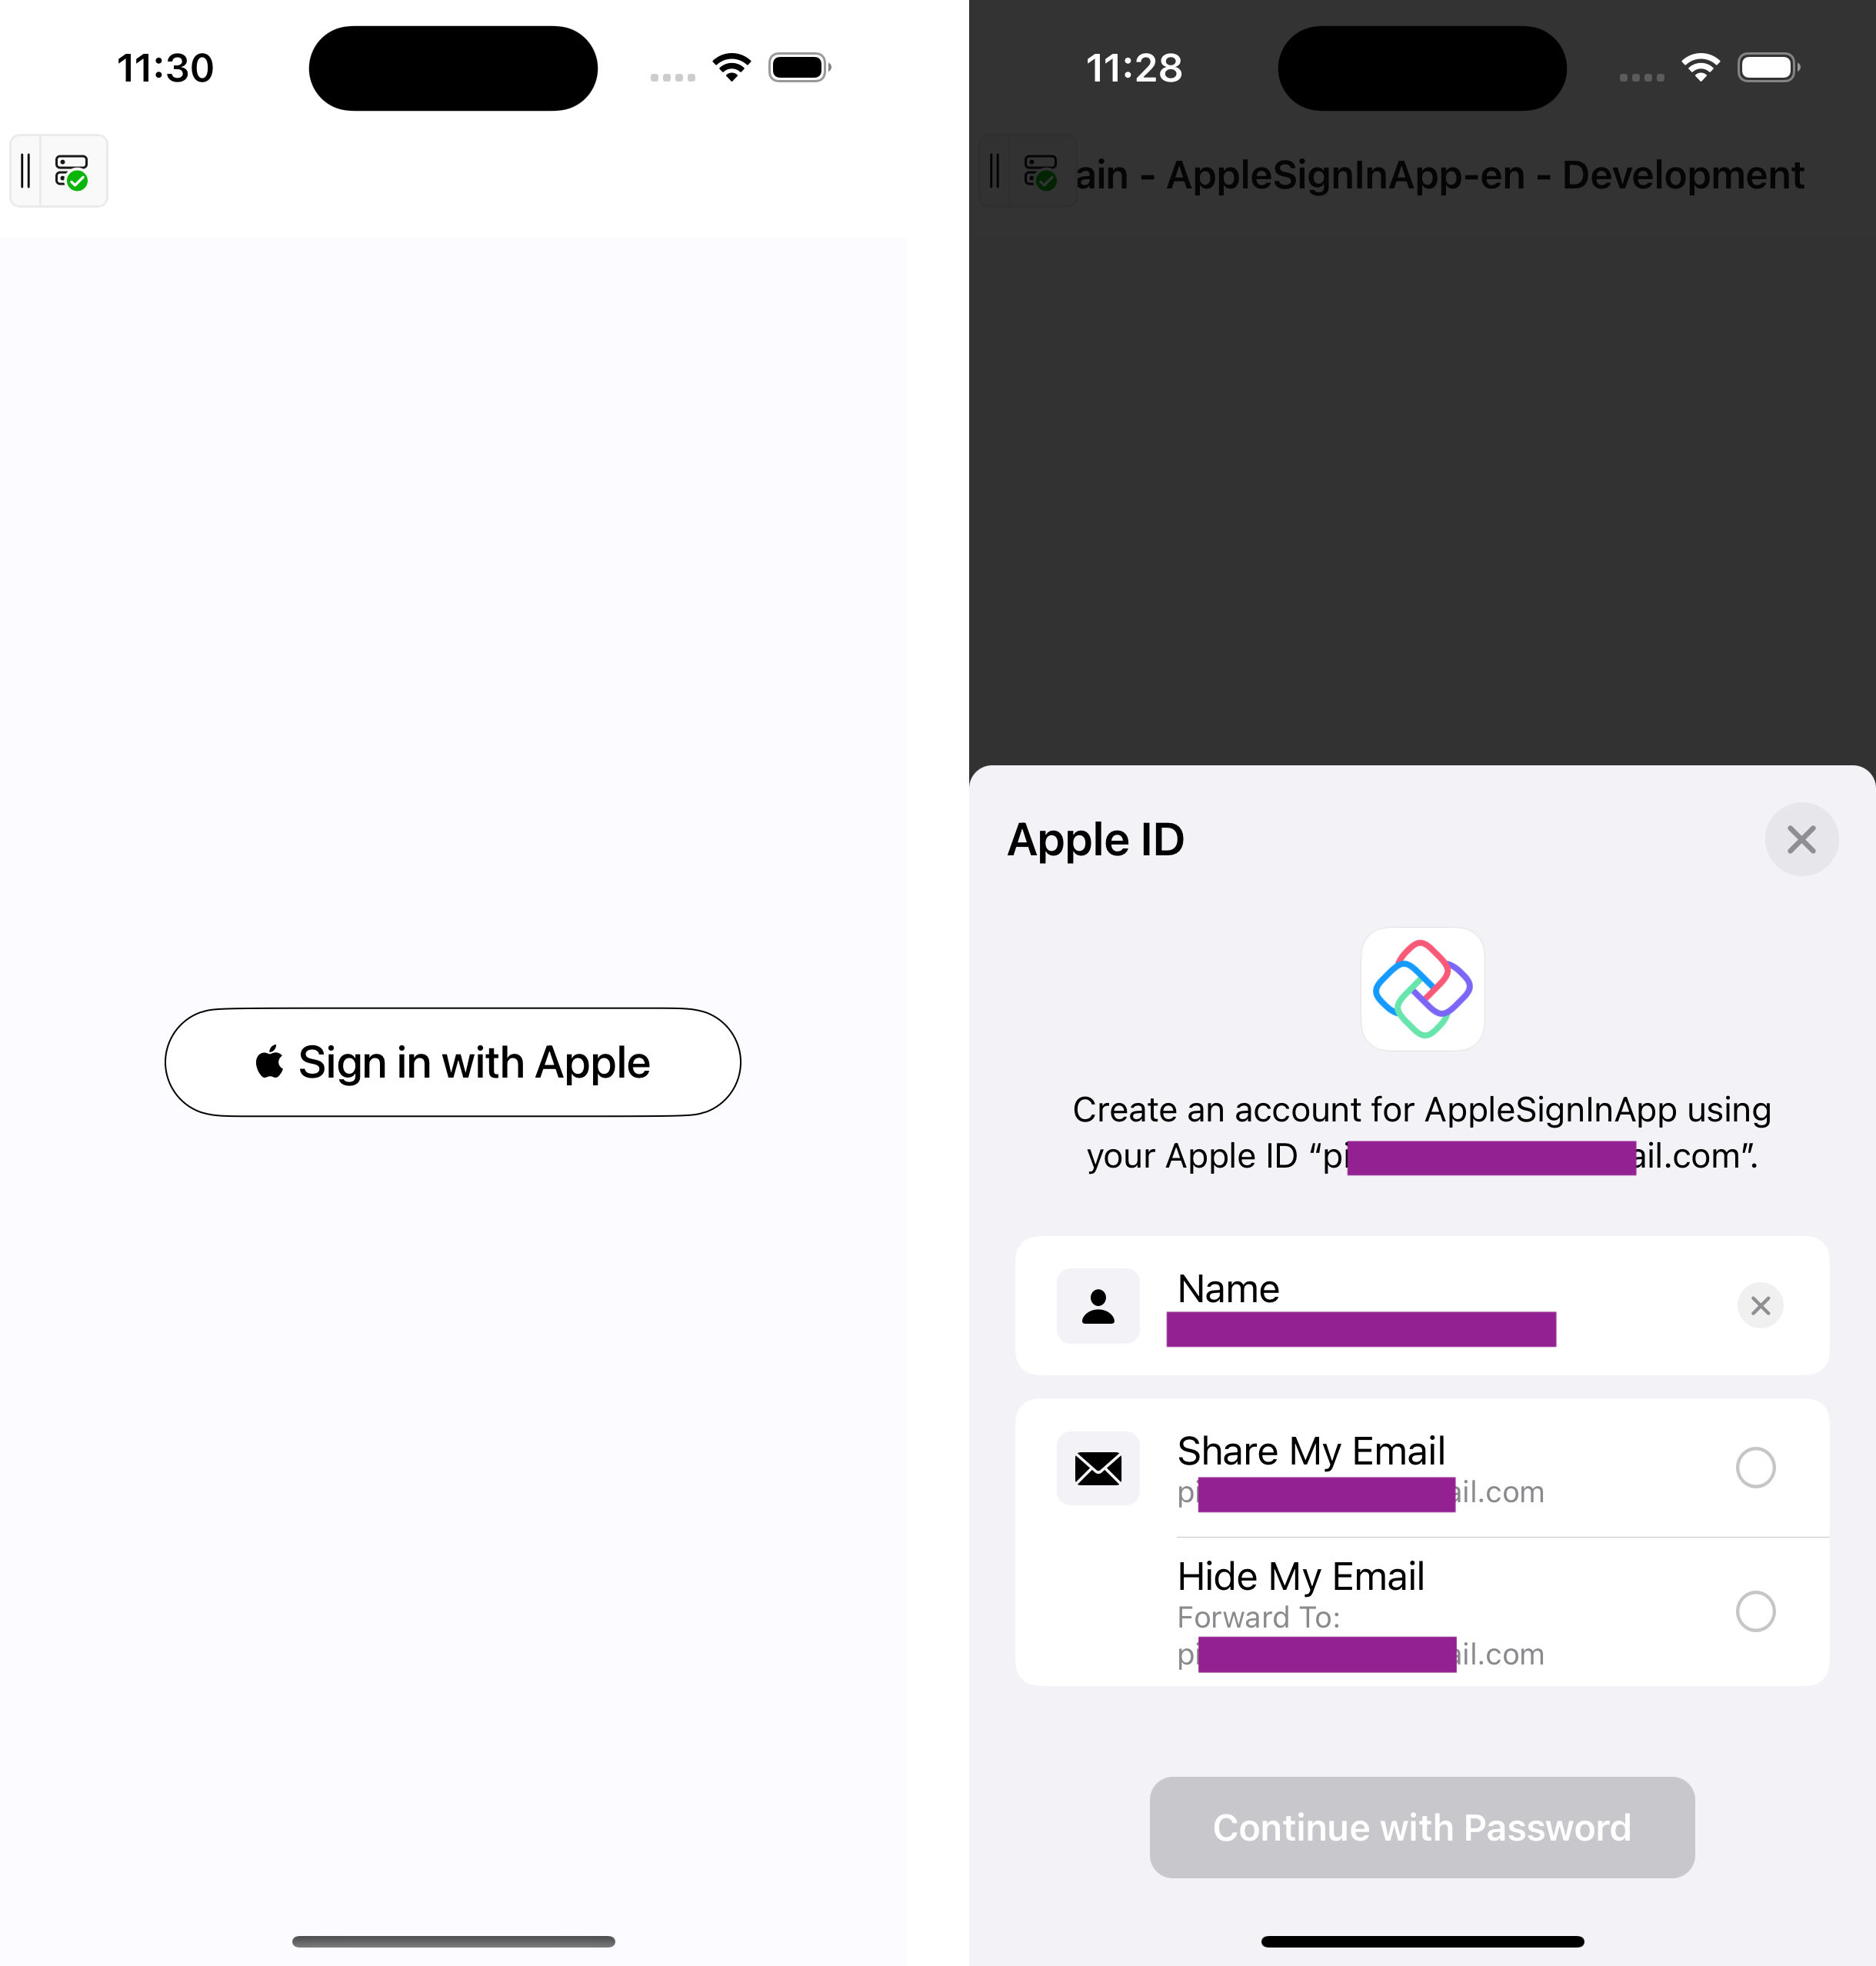
In Uno Platform projects, implementing a "Sign in with Apple" Button is possible through MAUI embedding (more on which in our Overview). Below is a simple example of how you can add the Apple Sign-In Button to your project. We will inject it into the visual tree from the code-behind and handle the authorization using Apple's Authentication Services.
General Usage
Activate the Apple Sign-In Capability:
- If you are using Visual Studio, open the
Entitlements.plistfile and locate the "Sign In With Apple" checkbox. After checking it, ensure you save your changes. - Alternatively, you can open the
Entitlements.plistfile in any text editor and add the following within the<dict>tag:
<key>com.apple.developer.applesignin</key> <array> <string>Default</string> </array>- If you are using Visual Studio, open the
Import Necessary Namespaces:
using AuthenticationServices;
using Foundation;
using UIKit;
In the constructor of your Page or control, create the Apple Sign-In Button:
Important
Ensure that you wrap platform-specific code in
#if __IOS__directives. For more details, refer to the Platform-specific C# documentation.var appleSignInButton = new ASAuthorizationAppleIdButton(ASAuthorizationAppleIdButtonType.Default, ASAuthorizationAppleIdButtonStyle.WhiteOutline); appleSignInButton.TouchUpInside += HandleAuthorizationAppleIDButtonPress; appleSignInButton.CornerRadius = 50; // Retain the delegate to prevent garbage collection _appleSignInDelegate = new AuthorizationControllerDelegate(this);Note
It's important to retain a reference to the delegate (
_appleSignInDelegate) to avoid garbage collection issues. This ensures that the authorization process is completed without interruption.Inject the Apple Sign-In button into the visual tree using
VisualTreeHelper.AdaptNative:var adaptedAppleButton = VisualTreeHelper.AdaptNative(appleSignInButton); var borderWrapper = new Border { MinHeight = 50, MinWidth = 250, HorizontalAlignment = HorizontalAlignment.Center, Child = adaptedAppleButton, }; m_MainStackPanel.Children.Add(borderWrapper);Handle the button's
TouchUpInsideevent to initiate Apple Sign-In:private void HandleAuthorizationAppleIDButtonPress(object sender, EventArgs e) { var appleIDProvider = new ASAuthorizationAppleIdProvider(); var request = appleIDProvider.CreateRequest(); request.RequestedScopes = new[] { ASAuthorizationScope.FullName, ASAuthorizationScope.Email }; var authorizationController = new ASAuthorizationController(new ASAuthorizationRequest[] { request }); authorizationController.Delegate = _appleSignInDelegate; // Use the retained delegate authorizationController.PresentationContextProvider = new PresentationContextProvider(); // Set the presentation context provider authorizationController.PerformRequests(); }
Custom Delegate for Authorization
To handle the result of the sign-in process, create a custom delegate:
public class AuthorizationControllerDelegate : ASAuthorizationControllerDelegate
{
    private readonly MyUserControl _parent;

    public AuthorizationControllerDelegate(MyUserControl parent)
    {
        _parent = parent;
    }

    public override void DidComplete(ASAuthorizationController controller, ASAuthorization authorization)
    {
        System.Diagnostics.Debug.WriteLine("Authorization successful.");

        try
        {
            var appleIdCredential = authorization.GetCredential<ASAuthorizationAppleIdCredential>();

            var userIdentifier = appleIdCredential?.User;
            // Handle successful authorization, retrieve user details
        }
        catch (Exception ex)
        {
            System.Diagnostics.Debug.WriteLine($"Authorization failed: {ex.Message}");
        }
    }
}
Managing Delegate in MVVM
If you're using an MVVM architecture, the delegate should handle sign-in logic indirectly by passing the necessary data to the ViewModel. This keeps the code clean and follows MVVM principles. For example:
- Instead of passing the user control (
MyUserControl) to theAuthorizationControllerDelegate, pass a reference to the ViewModel or a dedicated service. - In the delegate, you can call methods on the ViewModel to handle the authorization flow, such as storing user information or navigating to another page.
Example:
public class AuthorizationControllerDelegate : ASAuthorizationControllerDelegate
{
    private readonly MyViewModel _viewModel;

    public AuthorizationControllerDelegate(MyViewModel viewModel)
    {
        _viewModel = viewModel;
    }

    public override void DidComplete(ASAuthorizationController controller, ASAuthorization authorization)
    {
        System.Diagnostics.Debug.WriteLine("Authorization successful.");

        try
        {
            var appleIdCredential = authorization.GetCredential<ASAuthorizationAppleIdCredential>();
            var userIdentifier = appleIdCredential?.User;

            // Pass the user info to the ViewModel for further processing
            _viewModel.HandleSuccessfulAuthorization(userIdentifier);
        }
        catch (Exception ex)
        {
            System.Diagnostics.Debug.WriteLine($"Authorization failed: {ex.Message}");
        }
    }
}
Presentation Context Provider
For proper handling of the presentation context on iOS, implement a PresentationContextProvider:
public class PresentationContextProvider : NSObject, IASAuthorizationControllerPresentationContextProviding
{
    public UIWindow GetPresentationAnchor(ASAuthorizationController controller)
    {
        return UIApplication.SharedApplication.KeyWindow;
    }
}
More Resources
For more details on platform-specific considerations or to improve the user experience: