How to use Windows Community Toolkit - Version 7.x
This tutorial will walk you through adding and implementing the DataGrid control but the same steps can be followed for other* Uno ported Windows Community Toolkit controls versions 7.x.
* See the non-Windows platform compatibility section for more details.
Note
The complete source code that goes along with this guide is available in the unoplatform/Uno.Samples GitHub repository - DataGrid Sample.
Prerequisites
For a step-by-step guide to installing the prerequisites for your preferred IDE and environment, consult the Get Started guide.
Tip
If you are unsure of the version of the Windows Community Toolkit to use between v7 and v8, make sure to read the details about the migration guide.
NuGet Packages for Uno Platform
Uno Platform has ported the Windows Community Toolkit 7.x for use in Uno Platform applications to allow for use on Windows, Android, iOS, Linux, and WebAssembly.
The following packages are available:
- Uno.CommunityToolkit.WinUI
- Uno.CommunityToolkit.WinUI.Connectivity
- Uno.CommunityToolkit.WinUI.DeveloperTools
- Uno.CommunityToolkit.WinUI.UI
- Uno.CommunityToolkit.WinUI.UI.Animations
- Uno.CommunityToolkit.WinUI.UI.Behaviors
- Uno.CommunityToolkit.WinUI.UI.Controls
- Uno.CommunityToolkit.WinUI.UI.Controls.Core
- Uno.CommunityToolkit.WinUI.UI.Controls.DataGrid
- Uno.CommunityToolkit.WinUI.UI.Controls.Input
- Uno.CommunityToolkit.WinUI.UI.Controls.Layout
- Uno.CommunityToolkit.WinUI.UI.Controls.Markdown
- Uno.CommunityToolkit.WinUI.UI.Controls.Media
- Uno.CommunityToolkit.WinUI.UI.Controls.Primitives
- Uno.CommunityToolkit.WinUI.UI.Media
These package IDs are for Uno Platform (non-Windows) projects. For WinUI 3 projects, you should use the equivalent packages published by Microsoft (CommunityToolkit.WinUI, CommunityToolkit.WinUI.UI.Controls, etc).
Referencing the Windows Community Toolkit
When using the Uno Platform solution templates, add the following to your application:
Install the NuGet package(s) reference(s) that you need
- Single Project Template [WinUI / WinAppSDK]
- Multi-Head Project Template (Legacy) [WinUI / WinAppSDK]
- Shared Project (.shproj) Template (Legacy) [WinUI / WinAppSDK]
Edit your project file
PROJECT_NAME.csprojand add the following conditional references:<ItemGroup Condition="$([MSBuild]::GetTargetPlatformIdentifier('$(TargetFramework)')) == 'windows'"> <PackageReference Include="CommunityToolkit.WinUI.UI.Controls" /> <!-- Add more community toolkit references here --> </ItemGroup> <ItemGroup Condition="$([MSBuild]::GetTargetPlatformIdentifier('$(TargetFramework)')) != 'windows'"> <PackageReference Include="Uno.CommunityToolkit.WinUI.UI.Controls" /> <!-- Add more uno community toolkit references here --> </ItemGroup>If you already had a reference to the Community Toolkit, you should remove this line:
<ItemGroup>
  <PackageReference Include="Uno.CommunityToolkit.WinUI.UI.Controls" />
</ItemGroup>
Edit
Directory.Packages.propsand add the following conditional references:<ItemGroup Condition="$([MSBuild]::GetTargetPlatformIdentifier('$(TargetFramework)')) == 'windows'"> <PackageVersion Include="CommunityToolkit.WinUI.UI.Controls" Version="7.1.2" /> <!-- Add more community toolkit references here --> </ItemGroup> <ItemGroup Condition="$([MSBuild]::GetTargetPlatformIdentifier('$(TargetFramework)')) != 'windows'"> <PackageVersion Include="Uno.CommunityToolkit.WinUI.UI.Controls" Version="7.1.200" /> <!-- Add more uno community toolkit references here --> </ItemGroup>
If you're getting an error like this one :
Controls\TextBox\Themes\Generic.xaml : Xaml Internal Error error WMC9999:
Type universe cannot resolve assembly: Uno.UI, Version=255.255.255.255,
Culture=neutral, PublicKeyToken=null.
This means that there's an unconditional reference to Uno Platform's packages, and you'll need to make sure to add the conditional references as suggested above.
Add the the related needed namespaces
In XAML:
xmlns:controls="using:CommunityToolkit.WinUI.UI.Controls"In C#:
using CommunityToolkit.WinUI.UI.Controls;
Example with the DataGrid Control
This control will create an easily organized grid that will allow you to create flexible columns and rows.
Begin by adding the control using the syntax below. Change the
x:Nameto the name of your DataGrid.
<controls:DataGrid x:Name="dataGrid"></controls:DataGrid>Similar to how you would configure columns for a XAML
Gridlayout, you can add column definitions within yourDataGridcontrol:<controls:DataGrid.Columns> <controls:DataGridTextColumn Header="Rank"/> <controls:DataGridComboBoxColumn Header="Mountain"/> </controls:DataGrid.Columns>This will create two columns that can be adjusted by the user.

Alternatively, you can use the
AutoGenerateColumnsattribute on yourDataGridcontrol if you do not know how many columns your data will require.<controls:DataGrid x:Name="dataGrid" AutoGenerateColumns="True" />Format your rows in the same way as your columns or use a
DataTemplateadded as an attribute on theDataGridcontrol:<controls:DataGrid x:Name="dataGrid" RowDetailsTemplate="{StaticResource RowDetailsTemplate}">Data can be added with data binding. First, add your
ItemsSourceas a property of yourDataGridcontrol.<controls:DataGrid x:Name="dataGrid" ItemsSource="{x:Bind MyViewModel.Customers}" />Then, set the binding on each column:
<controls:DataGrid.Columns>
    <controls:DataGridTextColumn Header="Rank" Binding="{Binding Rank}" Tag="Rank" />
    <controls:DataGridTextColumn Header="Mountain" Binding="{Binding Mountain}" Tag="Mountain" />
</controls:DataGrid.Columns>
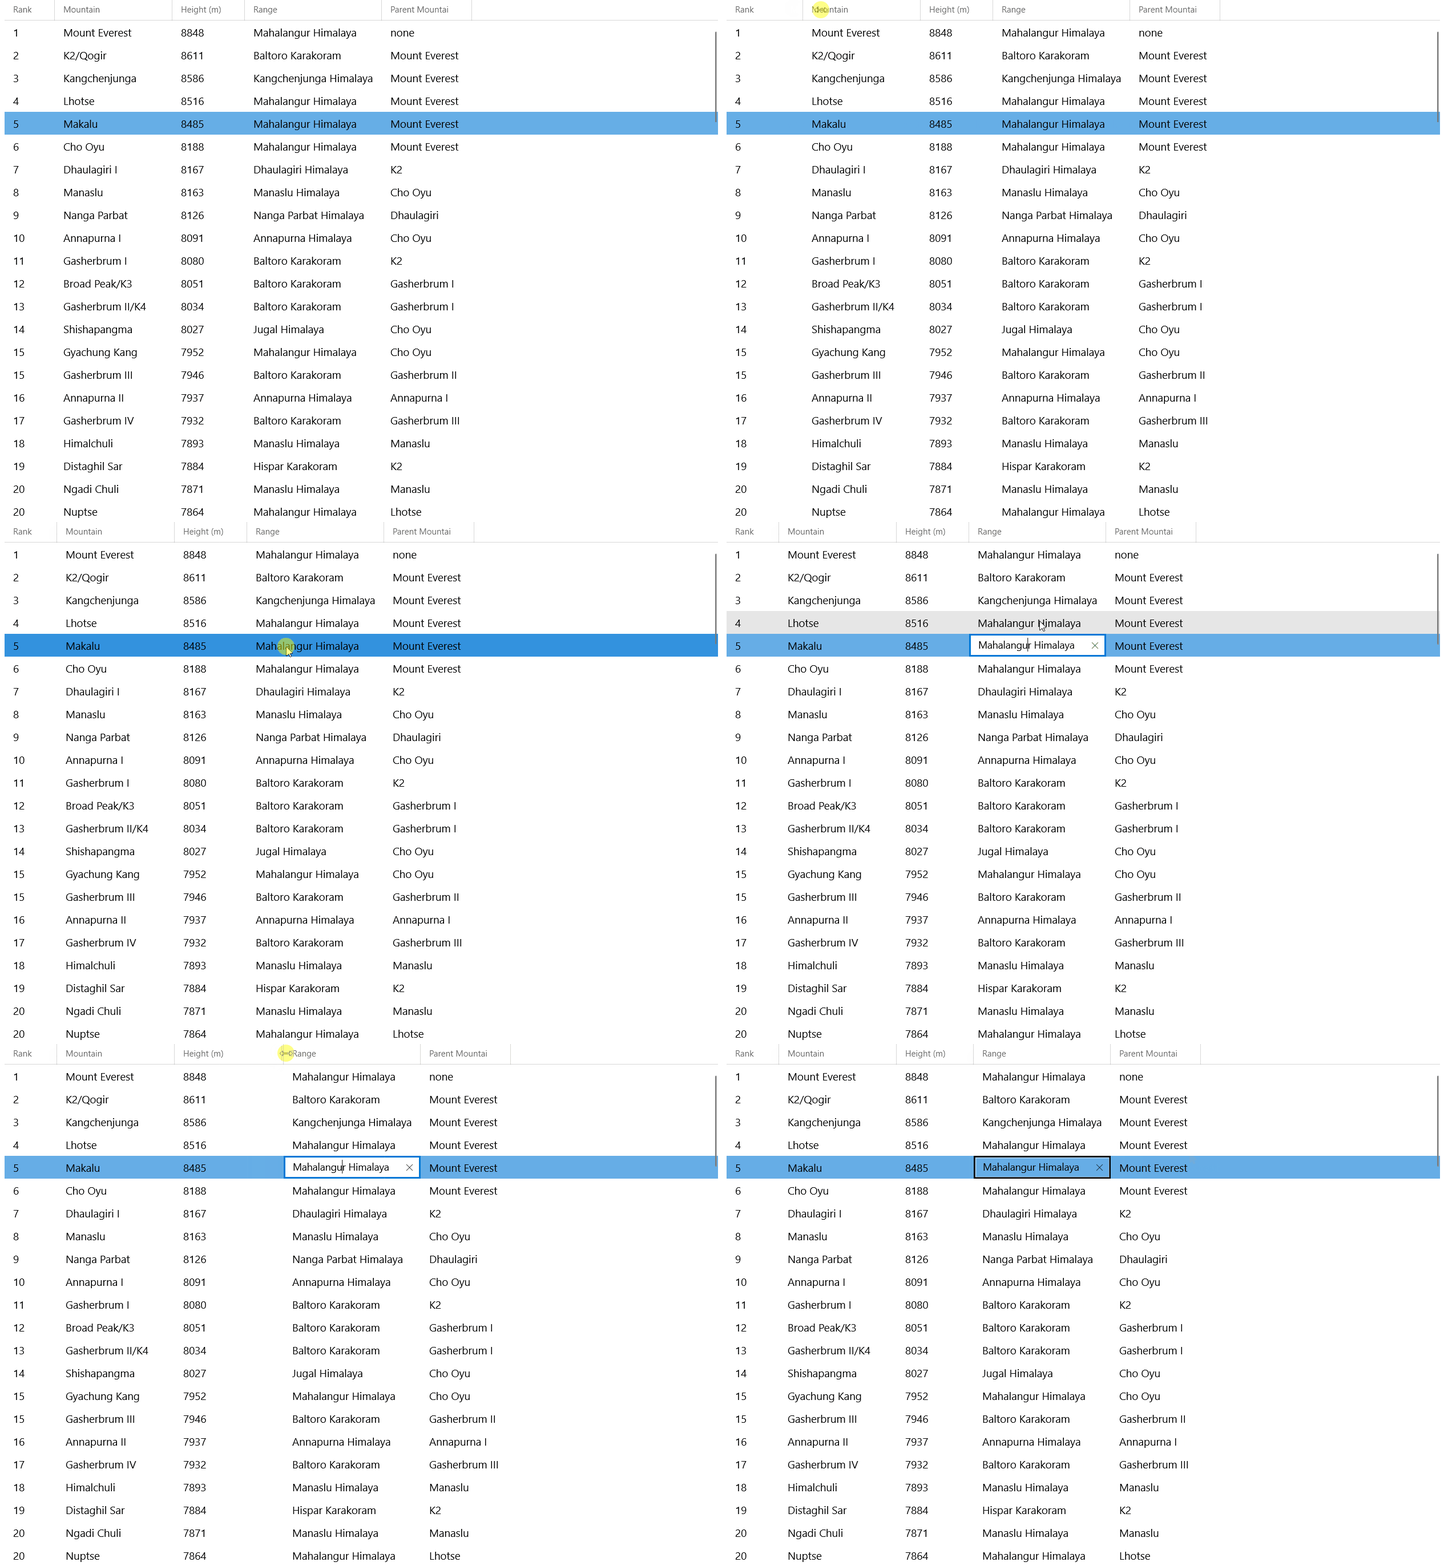
See a working example with data

A complete working sample with data is available on GitHub: Uno Windows Community Toolkit DataGrid Sample
Tip
Take a look at our common issues list and health status if you're having any troubles.
If you are experiencing issues with Uno Platform, please visit our GitHub Discussions or Discord Server - where our engineering team and community will be able to help you.