Getting Ready
This section will guide you through the process of setting you up to use Figma and the Uno Platform Figma Plugin to generate code that can be used to create an app.
Those steps will use the web version of Figma. The plugin is also available in the desktop version of Figma and the steps are pretty similar.
Figma environment
Let's start by making sure you have a working Figma environment.
Navigate to Figma web site
Sing-in or create a new account if you don't have one already
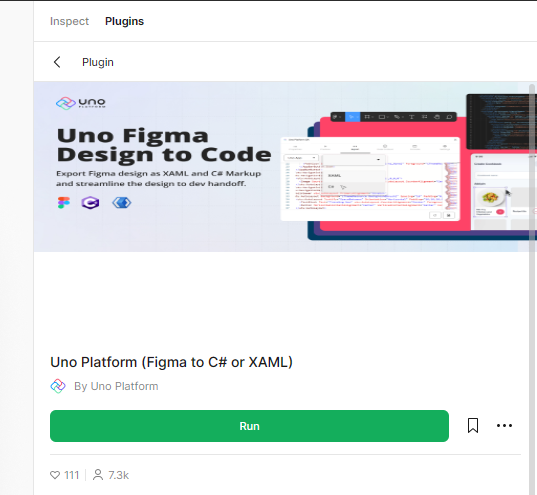
Navigate to the Uno Figma Plugin page
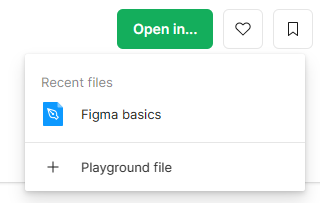
Click on the Open in... button and pick
+ Playground fileoption to create a new copy of the Uno Material Toolkit document
Figma should launch be default in developer mode (see below if it doesn't)
Click on the Run button to launch the plugin

Your Figma is now ready to start generating code
Note
There is many ways to launch the plugin. If the provided method doesn't work for you, you can also:
Press shift+d to toggle between developer mode and design mode
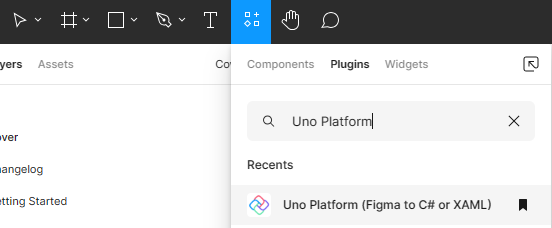
In Design mode: use the plugin menu in the toolbar and search for Uno Platform

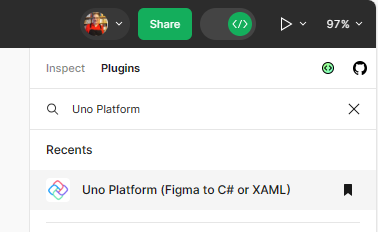
In Developer mode: use the Plugins tab in the right panel and search for Uno Platform

Development environment (Visual Studio or your favorite IDE)
Creating a new project using the Uno Platform requires a developer environment to be setup. The following guides will help you setup your environment: Getting Started with Uno Platform This guide will use Visual Studio on Windows as the IDE, but it is possible to use other supported IDEs like Visual Studio Code or JetBrains Rider.
Important
Ensure you have a working development environment before continuing. Follow the Uno Platform Getting Started guide.
Next step
Start generating code from a Figma document by following the Design to Code guide.