Creating an app with VS Code
Note
Make sure to setup your environment first by following our instructions.
Create the App
There are two ways to create your app. You can either use the Live Wizard or the /mcp.uno.new Copilot Agent prompt.
Creating an Uno Platform project is done using dotnet new and the Uno Platform Live Wizard by following these steps:
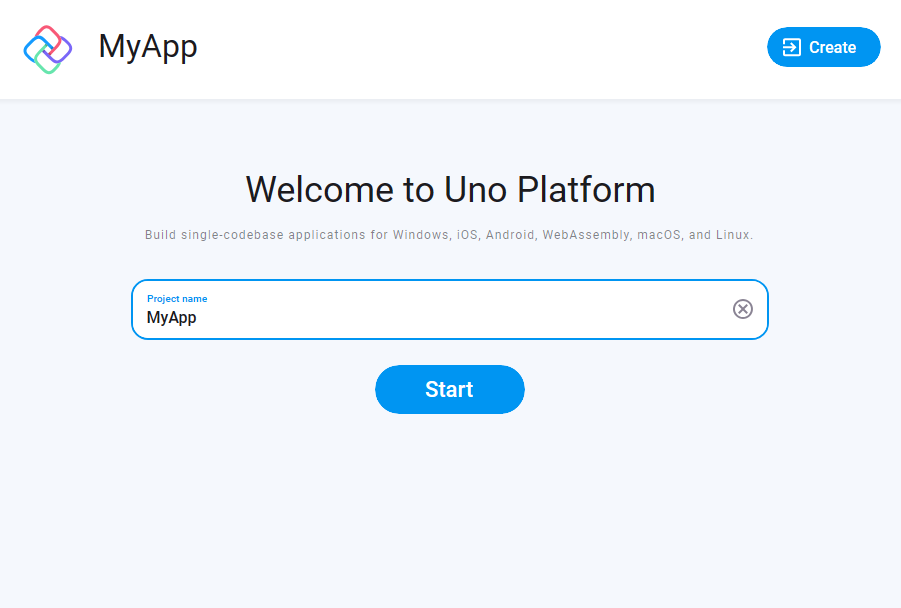
Open a browser and navigate to the online Live Wizard
Configure your new project by providing a project name, then click Start
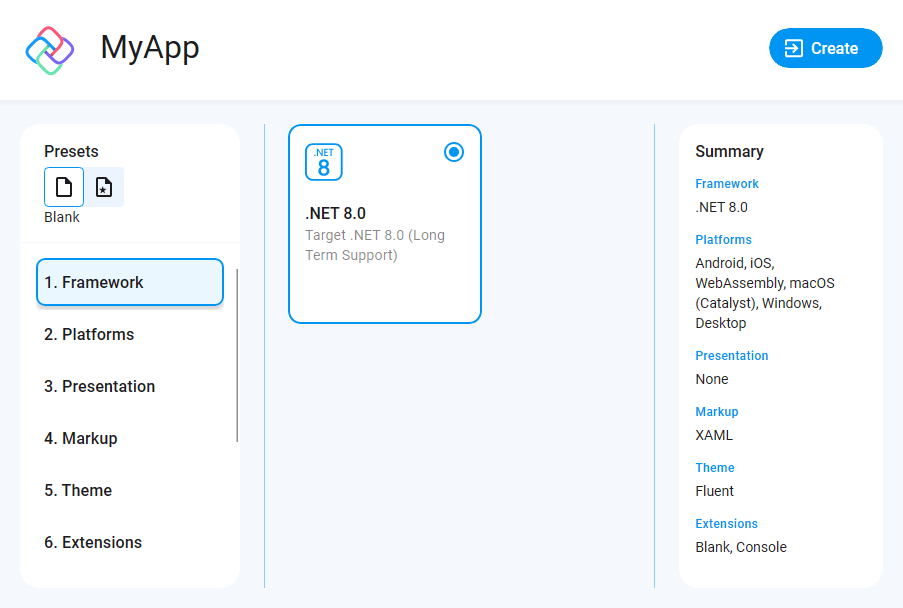
Choose a template to build your application
Tip
For a detailed overview of the Uno Platform project wizard and all its options, see the Wizard guide.
Note
Starting with Uno.Sdk 6.0, Skia rendering is now the default rendering engine in Uno Platform templates for iOS/Android/WebAssembly. If you prefer native rendering instead, you can switch this setting in the
Featurestab underRenderer.Click the Create button on the top right corner, then click the Copy button
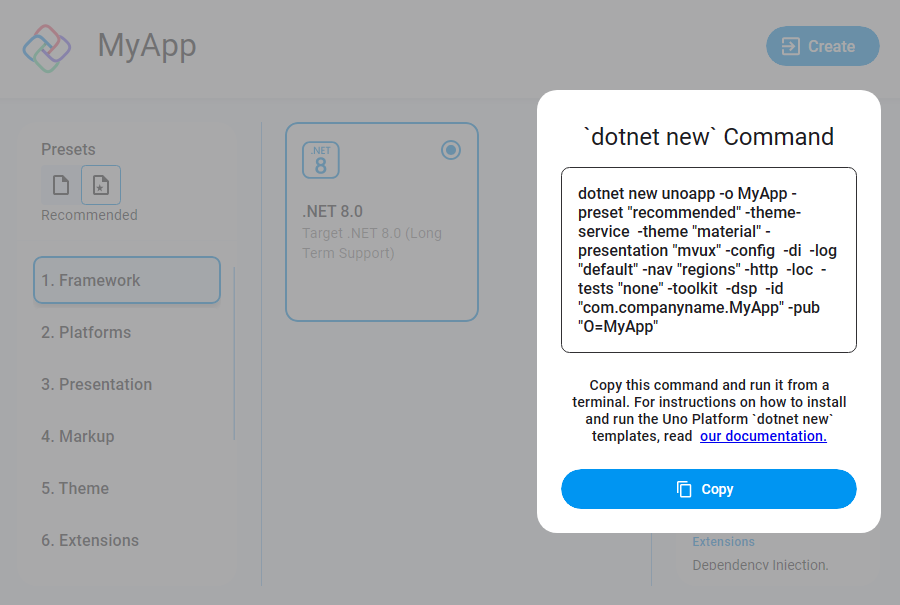
In your terminal, navigate to the folder that will contain your new app.
Create a new project by pasting and executing the command that was previously generated in the Live Wizard.
Important
Apple targets are automatically disabled under Linux.
Next, open the project using Visual Studio Code.
Let's assume your project is named
MyAppand is located inside aProjectsfolder:Using the Terminal Ensure you are at the parent folder (
Projects) level, then run:code ./MyAppUsing Visual Studio Code
- Open Visual Studio Code.
- Go to File > Open Folder.
- Navigate to the
Projectsfolder and select theMyAppfolder.
Visual Studio Code might ask to restore the NuGet packages. Allow it to restore them if asked.
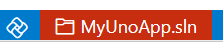
Once the solution has been loaded, in the status bar at the bottom left of VS Code,
MyApp.slnis selected by default. SelectMyApp.csprojto load the project instead.-
Important
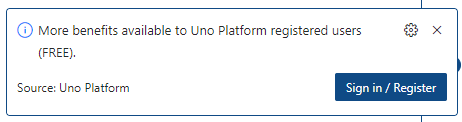
A notification should appear prompting you to sign in or register with Uno Platform.
Signing in with your Uno Platform account in Visual Studio Code unlocks powerful tools like Hot Reload, helping you speed up development.
With a single registration, you also gain early access to new features and the opportunity to connect with the Uno Platform community, where you can share feedback and network.
Detailed information on registration and sign-in is available here.

Explore the Agent MCP tools
We can now explore the MCP:
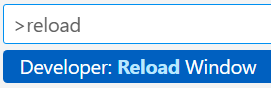
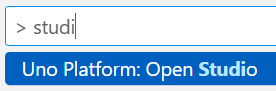
If you want to use our MCP tools, make sure to be logged in using your account in Uno Studio by using the command palette:
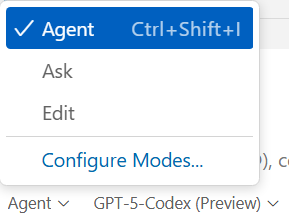
When clicking on the "double wrench" icon on the right side of Copilot, you should be seeing the Uno Platform MCP tools listed:

Debug the App
Uno Platform provides integrated support for debugging your app on Windows, macOS, and Linux.
Note
VS Code's built-in JavaScript debugger currently only supports:
- Google Chrome
- Microsoft Edge (Chromium-based)
To debug WebAssembly with VS Code, one of these browsers must be installed.
Safari, Firefox, and other browsers are not directly supported via VS Code at the moment.
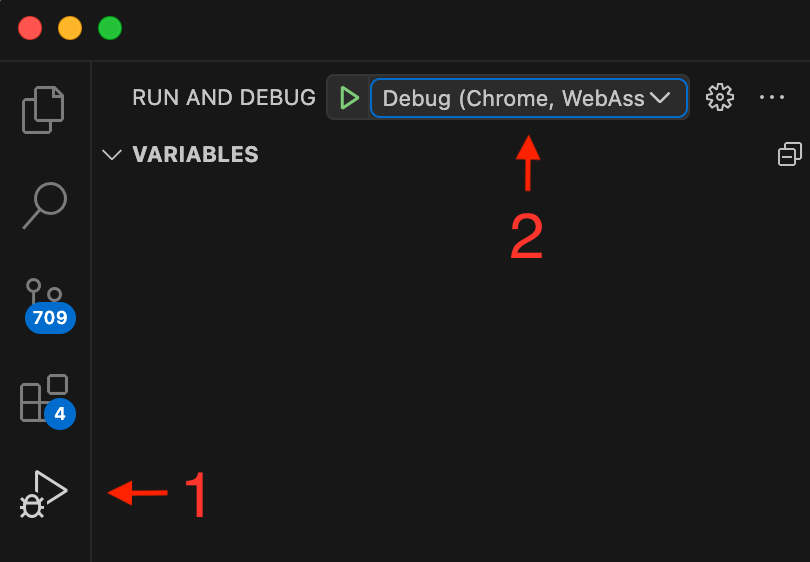
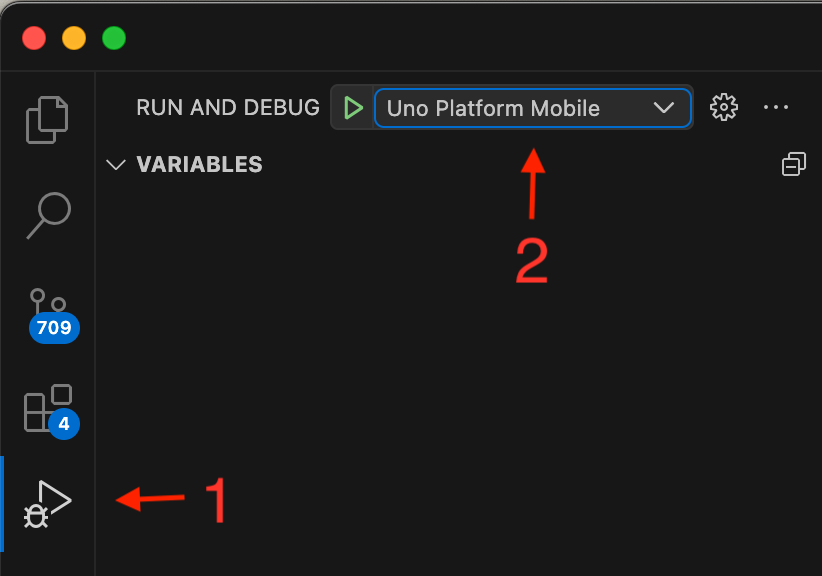
In VS Code :
- In the activity bar select the debugger
- Set the debugger launch to
Uno Platform WebAssembly Debug (Chrome)orUno Platform WebAssembly Debug (Edge)
In the status bar :
- Just after the Uno logo, ensure the
MyAppproject is selected - by defaultMyApp.slnis selected - Next, click on the target framework to select
net9.0-browserwasm | Debug

Finally, press F5 to start the debugging session.


You're all set!
You can also find additional VS Code topics, such as using snippets, updating existing apps to use VS Code.
Next Steps
Now that you've created and debugged your app, you can continue development or you can use Copilot to accelerate your workflow.
You can also learn more about:
- Uno Platform features and architecture
- Hot Reload features
- Uno Platform App solution structure
- Troubleshooting
- How-tos and Tutorials See real-world examples with working code.
- List of views implemented in Uno for the set of available controls and their properties.