Module 1 - Getting Started
Uno Platform provides a multi-platform solution for building native apps for iOS, Android, Windows, macOS, Web, as well as Linux.
This module will walk you through the process of getting started with Uno Platform and creating a project using either the template wizard or the dotnet new template, that includes features to serve the requirements of this workshop.
If you are new to the Uno Platform, you may also want to check out Uno Docs - Get Started.
Setting up the Environment
Prepare for our app workshop by setting up your environment for Uno app development. Just follow the documentation for your IDE.
Obtaining a YouTube Data API v3 Key [optional]
This app will eventually search and play YouTube videos. To query this data from YouTube, a YouTube API v3 needs to be obtained. You can skip this part if you prefer running the app with local sample search data instead.
In the following steps, we will walk you through this tutorial, and provide you with detailed screenshots on how to obtain a YouTube Data API v3 key.
Detailed instructions on obtaining a YouTube API key
Create a new project in Google Console
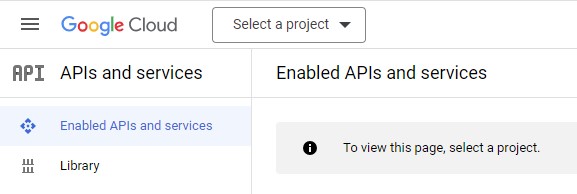
Open the Enabled APIs and services page in the Google Console Dashboard.
If this is the first time you're using Google Console, you might see a message similar to this one:
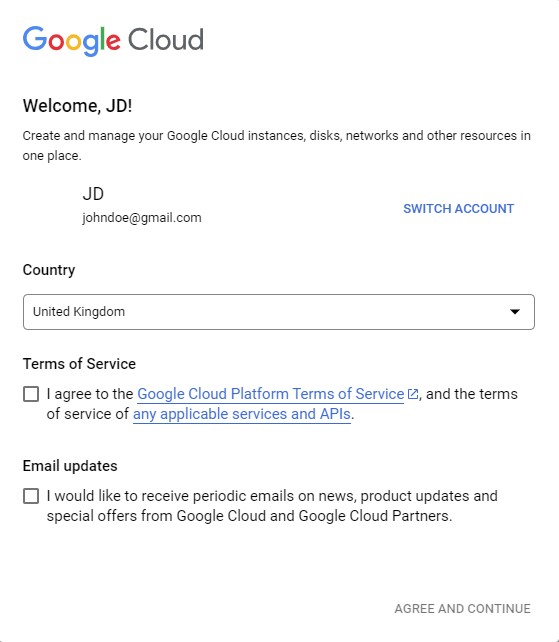
Agree to the terms of service.
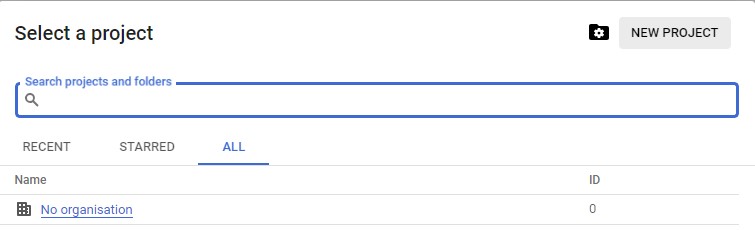
On the top of the page, click the projects dropdown:
Then, on the popup that opens, click New project:
Give the project a descriptive title, such as Uno Tube Player, and click Create.
The project will now be created and selected in the top dropdown.
If you can't see the project, try refreshing the page.
Enable YouTube APIs for this project
If you are not already, navigate back to the Enabled APIs and services page, and click Enable APIs and services
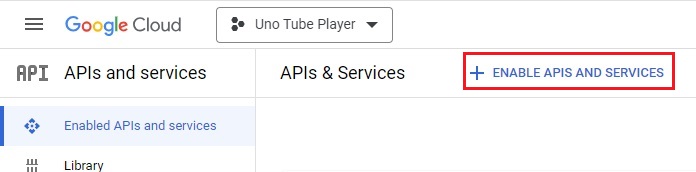
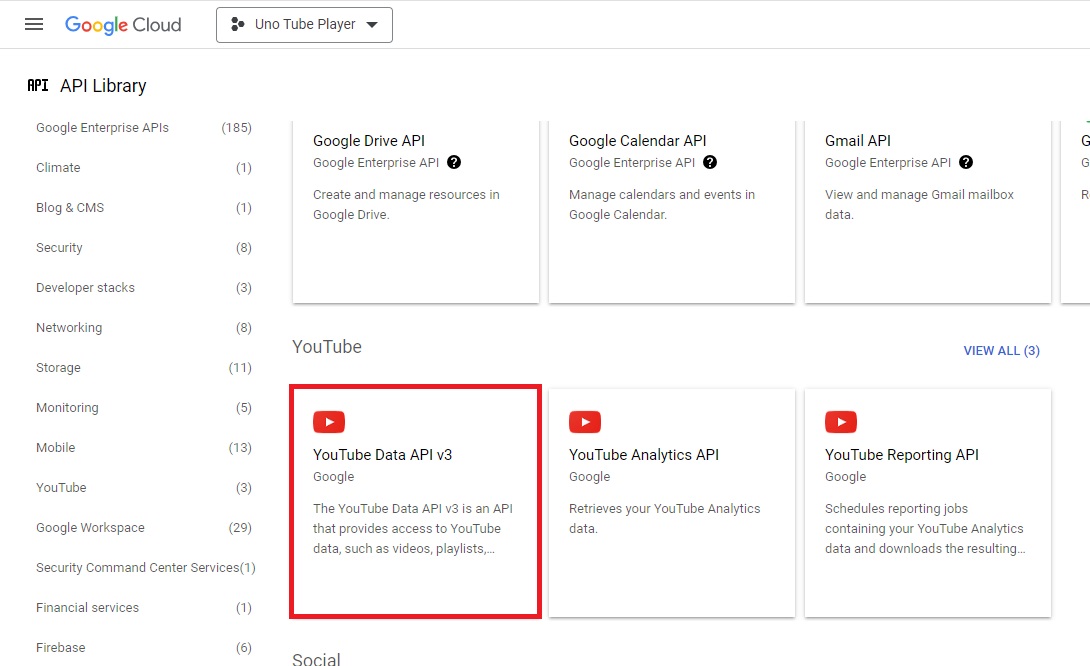
From the APIs page, click YouTube Data API v3 (you can search for it):
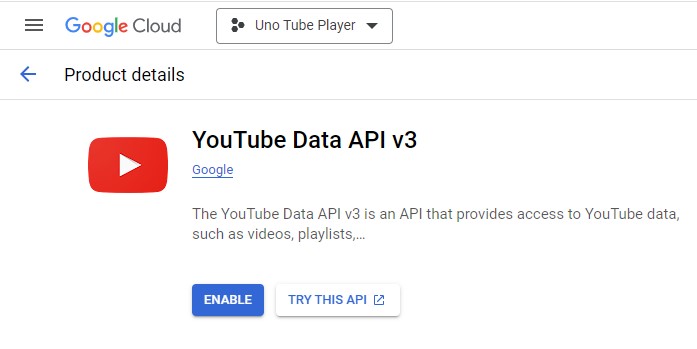
Click Enable
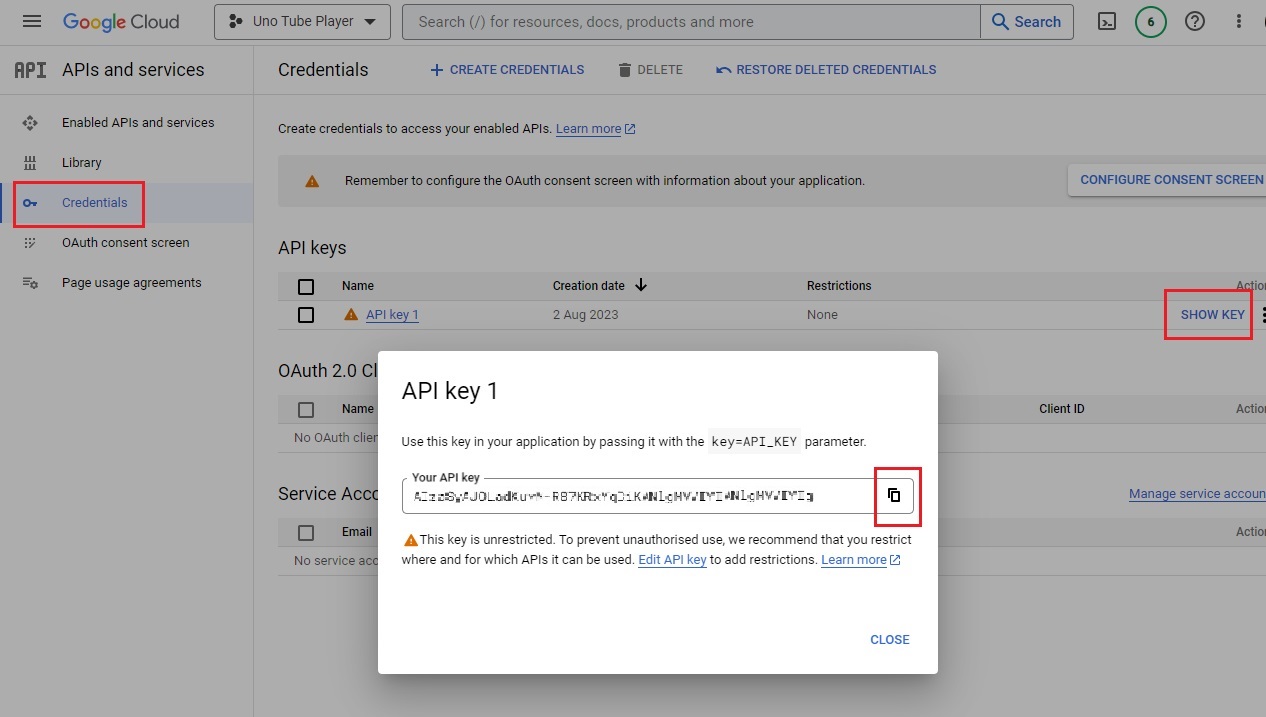
Obtain an API key
Once YouTube Data API v3 has been enabled, its page will open.
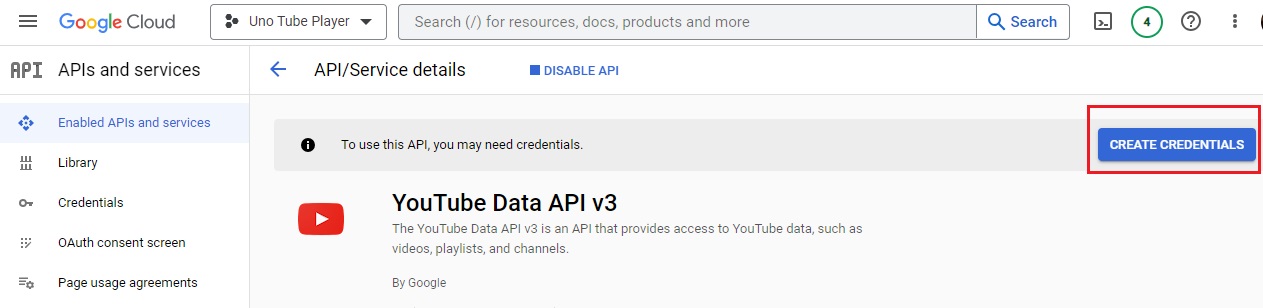
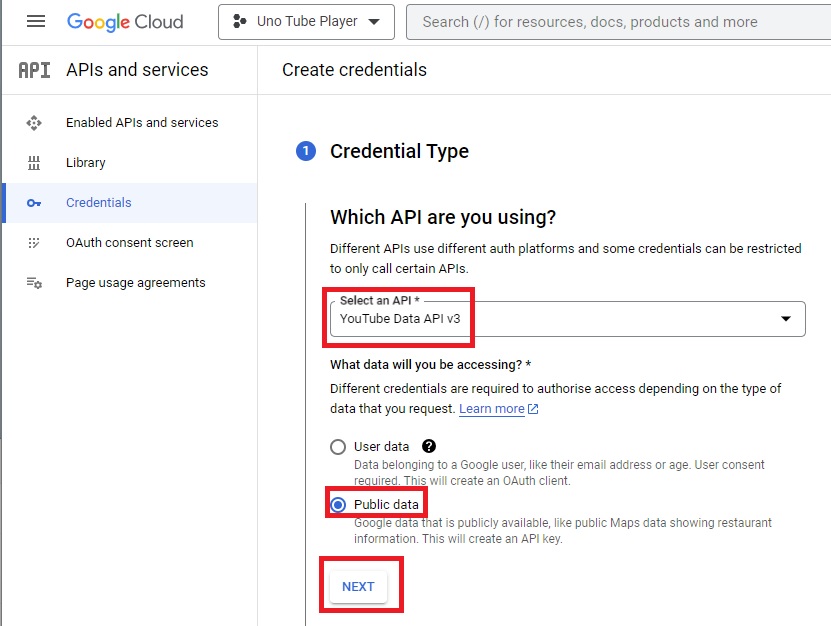
Click Create credentials and select Public data, then click Next.
The API key will be revealed to you, click the copy button and copy the API key somewhere safe and private, it will be used in Module 8 - API endpoints when searching YouTube's data.

Alternatively, keep this tab open to copy the API key later.
You can always access the API key via the credentials menu on the left side.
Creating the project
To create a new Uno Platform app, there are two options available to developers. The first is to use the Visual Studio extension which provides a guided approach to creating an Uno Platform app.
The other one is to use the dotnet new unoapp template, which enables customizing the generated projects with parameters and modifiers.
In the following sections, we will cover both methods for creating a new Uno app, providing step-by-step instructions for each.
The Uno Platform solution template wizard guides you through generating a new project and enables you to customize it and select the options suitable for your project.
In this project we'll create a customized blank template that includes the following features and extensions:
- C# markup
- MVUX framework
- Material theme
- Uno DSP import for theme color overrides
- Dependency Injection, Configuration and Navigation extensions
- Uno Toolkit
The HTTP and Refit extension will be added manually at a later stage.
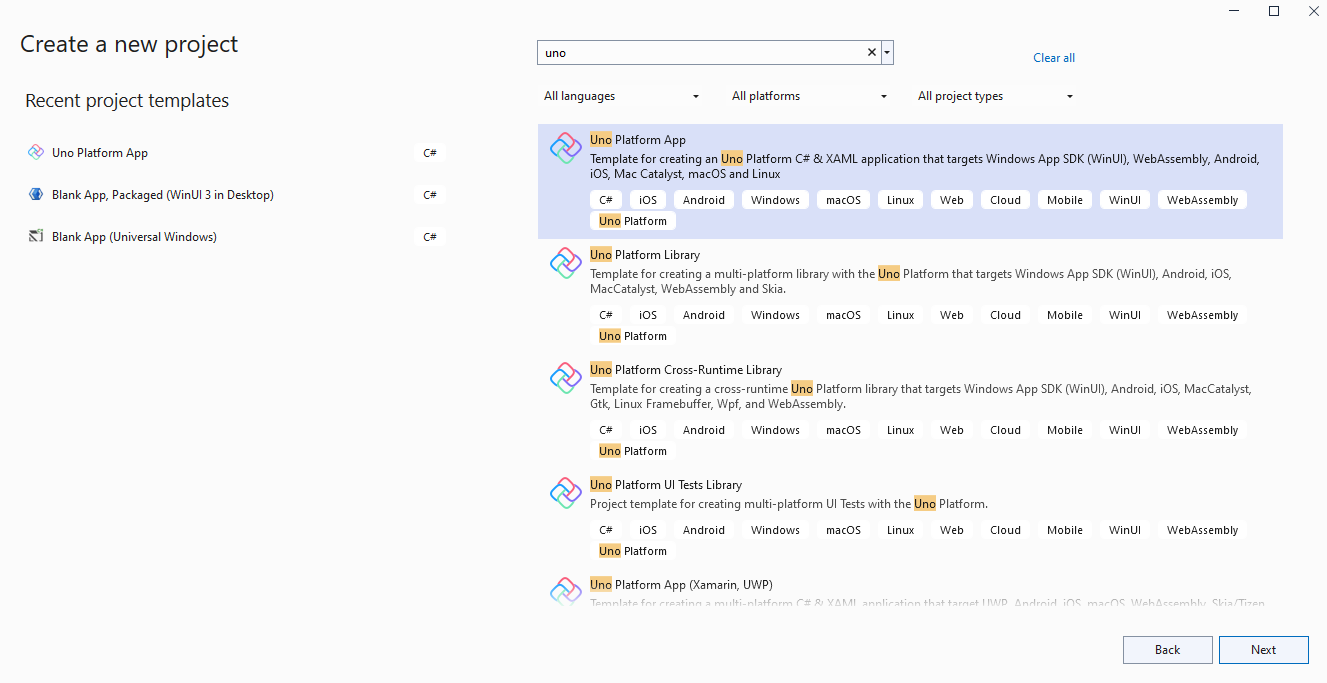
To generate your project, hit Ctrl+Shift+N (File → New → Project) and select 'Uno Platform App' from the options window. You can search for 'Uno' if it's not instantly visible.
The next page is the regular Visual Studio project location choice. Choose a suitable location, name the project 'TubePlayer', and click Create.
After clicking Next, the Uno Platform template wizard will open enabling you to select the features.
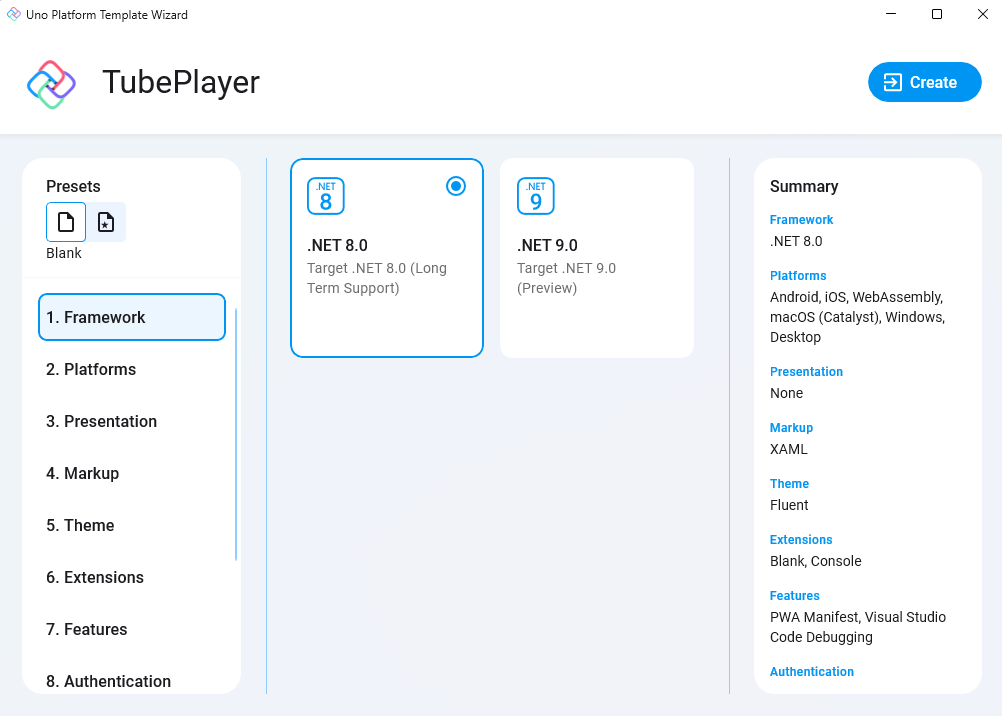
- In Presets tab select Blank.
- In Presentation tab select MVUX.
- In Markup tab select C# Markup.
- In Theme tab select Material and check Import DSP.
- In Extensions tab check: Dependency Injection, Configuration, then under Navigation, select Regions.
- In Features tab select Toolkit.
Click Create for the project to be generated.
You might be asked to reload the IDE before the projects are fully loaded. Click reload if you see this message.

Rename files
Rename the file Presentation → SecondModel.cs to VideoDetailsModel.cs, and SecondPage.cs to VideoDetailsPage.cs.
If you're using Visual Studio and you're asked to also rename all references ofSecondPageandSecondModelclick Yes.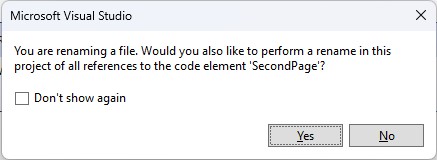
In VideoDetailsModel.cs, ensure the record name has changed to
VideoDetailsModel, otherwise change it manually.In VideoDetailsPage.cs, ensure
SecondPagehas changed toVideoDetailsPagein both the class name and constructor, otherwise change it manually, then changeSecondViewModeltoVideoDetailsViewModel.Make sure these references have also been changed in App.xaml.cs.
In App.xaml.cs, also rename the route map path from
SecondtoVideoDetails:new RouteMap("VideoDetails", View: views.FindByViewModel<VideoDetailsModel>()),
As explained in the intro, the app will consist of two pages, a search page, and a video-player page. MainPage.cs and MainModel.cs will be used as the search page, whereas VideoDetailsPage.cs and VideoDetailsModel.cs to display additional video details and the media player.
Running the application
Select the target framework (e.g., Android, iOS, Windows) and the device or emulator you want to deploy to. The emulator can be selected from the subsequent menu as shown in the picture:
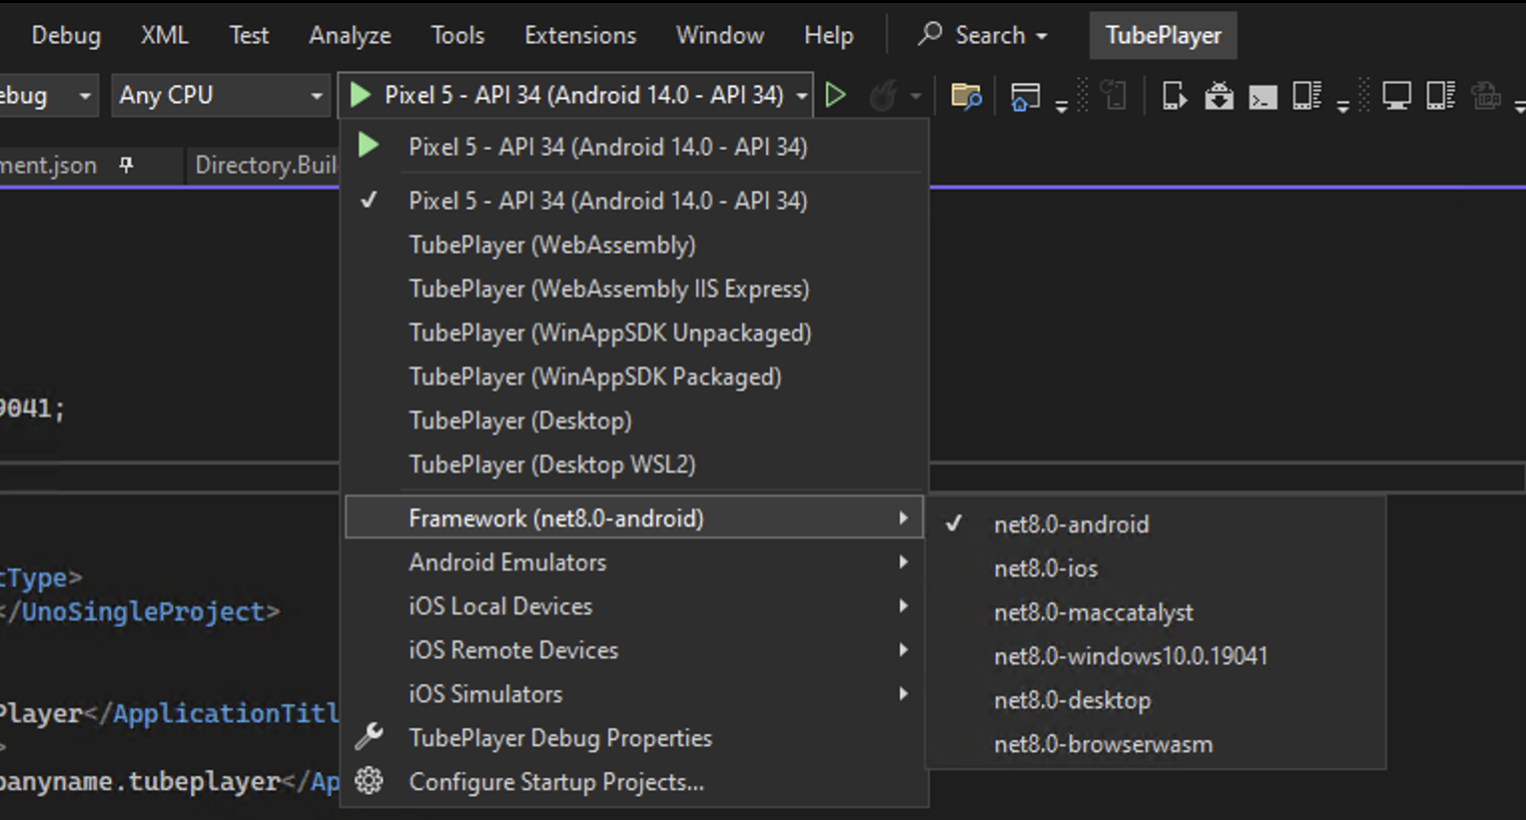
Press F5 to run the project.
This is what you expect the app to look like:
Note
If you see an error message mentioning the old type names (SecondPage/SecondModel), try cleaning the solution. In Visual Studio, you'd right-click the solution and then Clean. Otherwise, call dotnet clean from the TubePlayer's solution folder.
To learn more about debugging the app on different platforms read this: