
It simply had to be done – Cybertruck in XAML. See for yourself, and further customize the Cybertruck if you’d like, in our WebAssembly implementation of Cybertruck.

Go ahead, have a swing at its windows with your mouse! Shout out goes to Lynn Fisher whose tweet inspired us to recreate Cybertruck in XAML. Of course we had to add a lil’ Uno logo there on the door.
What is Uno Platform anyway?
Before getting into the details of Cybertruck in XAML. The Uno Platform enables C# and XAML based code to run on iOS, Android, and WebAssembly. To avoid having to learn the UI-layout techniques and approaches for each platform, the Uno Platform mimics the Windows XAML approach of defining UI and layouts. The Uno Platform does this by providing full API definitions of the Universal Windows Platform and implementations of parts of the API – such as Windows.UI.XAML. Uno Platform is Open Source (Apache 2.0) and available on GitHub. As fans of XAML, and Tesla, it made sense we have some fun with Cybertruck.
How did we do it?
Everything was done in XAML and we mainly used simple controls for the entire content (Grid, Border, Path and a ViewBox to be able to resize the content for all aspect ratios).
For the colors, we used solid ones or LinearGradientBrushes (Horizontal, Vertical or Diagonal).
In terms of animations, we simply used DoubleAnimations, changing the Opacity for the lights or using aRotateTransform for the wheels.
We created every part of the car using vector graphics software in order to create an SVG file, you can use your favorite software package for that part (eg Inkscape, Adobe Illustrator, PaintShop Pro, …).
You will then be able to extract the needed data in the generated SVG file, and use them in the different Path controls inside the content.
How can you customize it?
Having the CyberTruck in action running WebAssembly is pretty cool, but be able to customize it is also fun – https://playground.platform.uno/#cybertruck.
It’s really easy to play around and change the values, here are two examples:
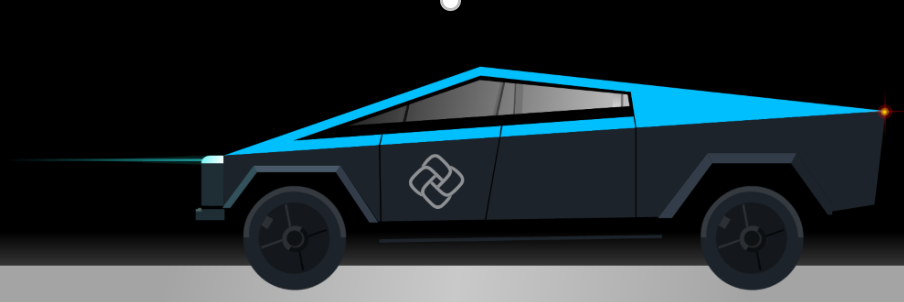
For example, change the CyberTruck color.
BEFORE
<!--MAIN BODY -->
<Path Data="M 457.97791,2.8127639 227.25276,82.520113 822.32143,42.553571 Z">
    <Path.Fill>
        <LinearGradientBrush StartPoint="0,0"
                             EndPoint="1,1">
            <GradientStop Color="#FFA7A7A7"
                          Offset="0.0" />
            <GradientStop Color="#FFDDDDDD"
                          Offset="0.8" />
            <GradientStop Color="#FFA7A7A7"
                          Offset="1.0" />
        </LinearGradientBrush>
    </Path.Fill>
</Path>

AFTER
<!--MAIN BODY -->
<Path Data="M 457.97791,2.8127639 227.25276,82.520113 822.32143,42.553571 Z"
      Fill="DeepSkyBlue" />
Or, to make the wheels spin in different direction.
BEFORE
<DoubleAnimation
    From="0"
    To="-360"
    Duration="0:0:0.5"
    RepeatBehavior="Forever"
    Storyboard.TargetName="TeslaLeftWheel"
    Storyboard.TargetProperty="(UIElement.RenderTransform).(RotateTransform.Angle)" />

AFTER
<DoubleAnimation
  From="0"
  To="360"
  Duration="0:0:0.5"
  RepeatBehavior="Forever"
  Storyboard.TargetName="TeslaLeftWheel"
  Storyboard.TargetProperty="(UIElement.RenderTransform).(RotateTransform.Angle)" />
Cybertruck on iOS, Android and Windows
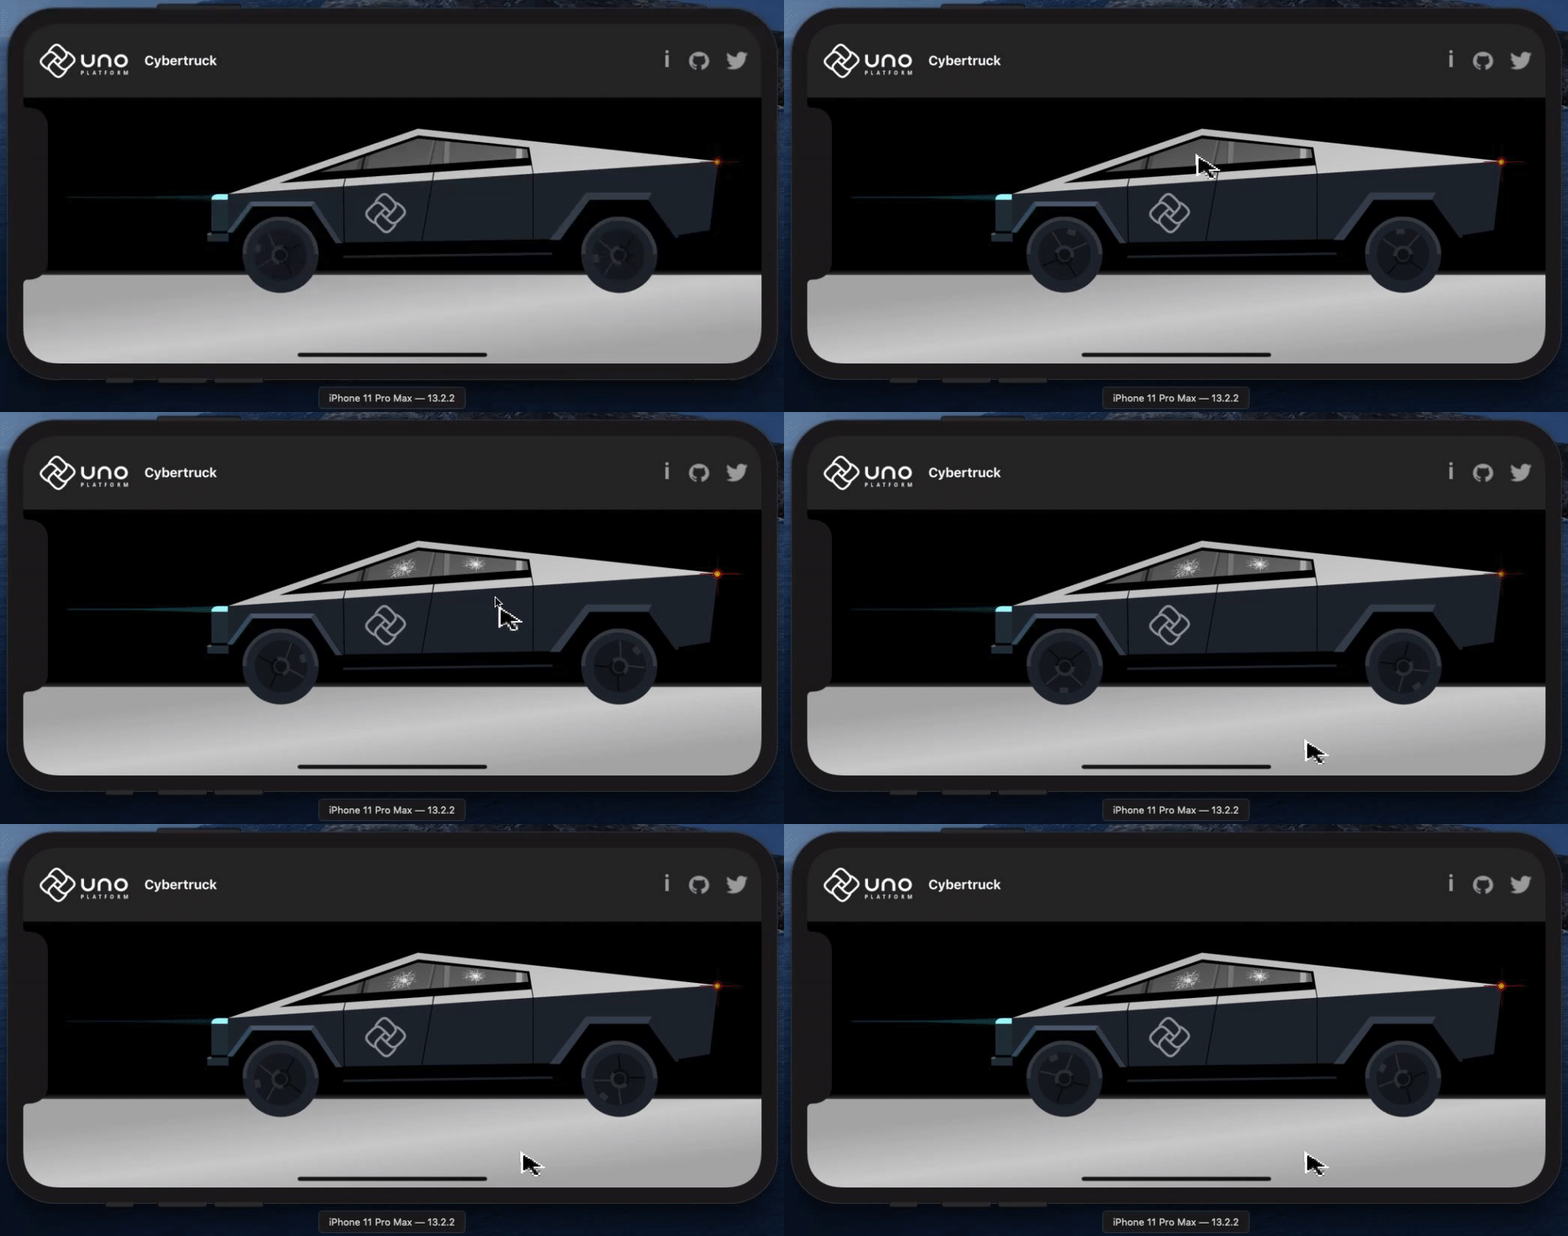
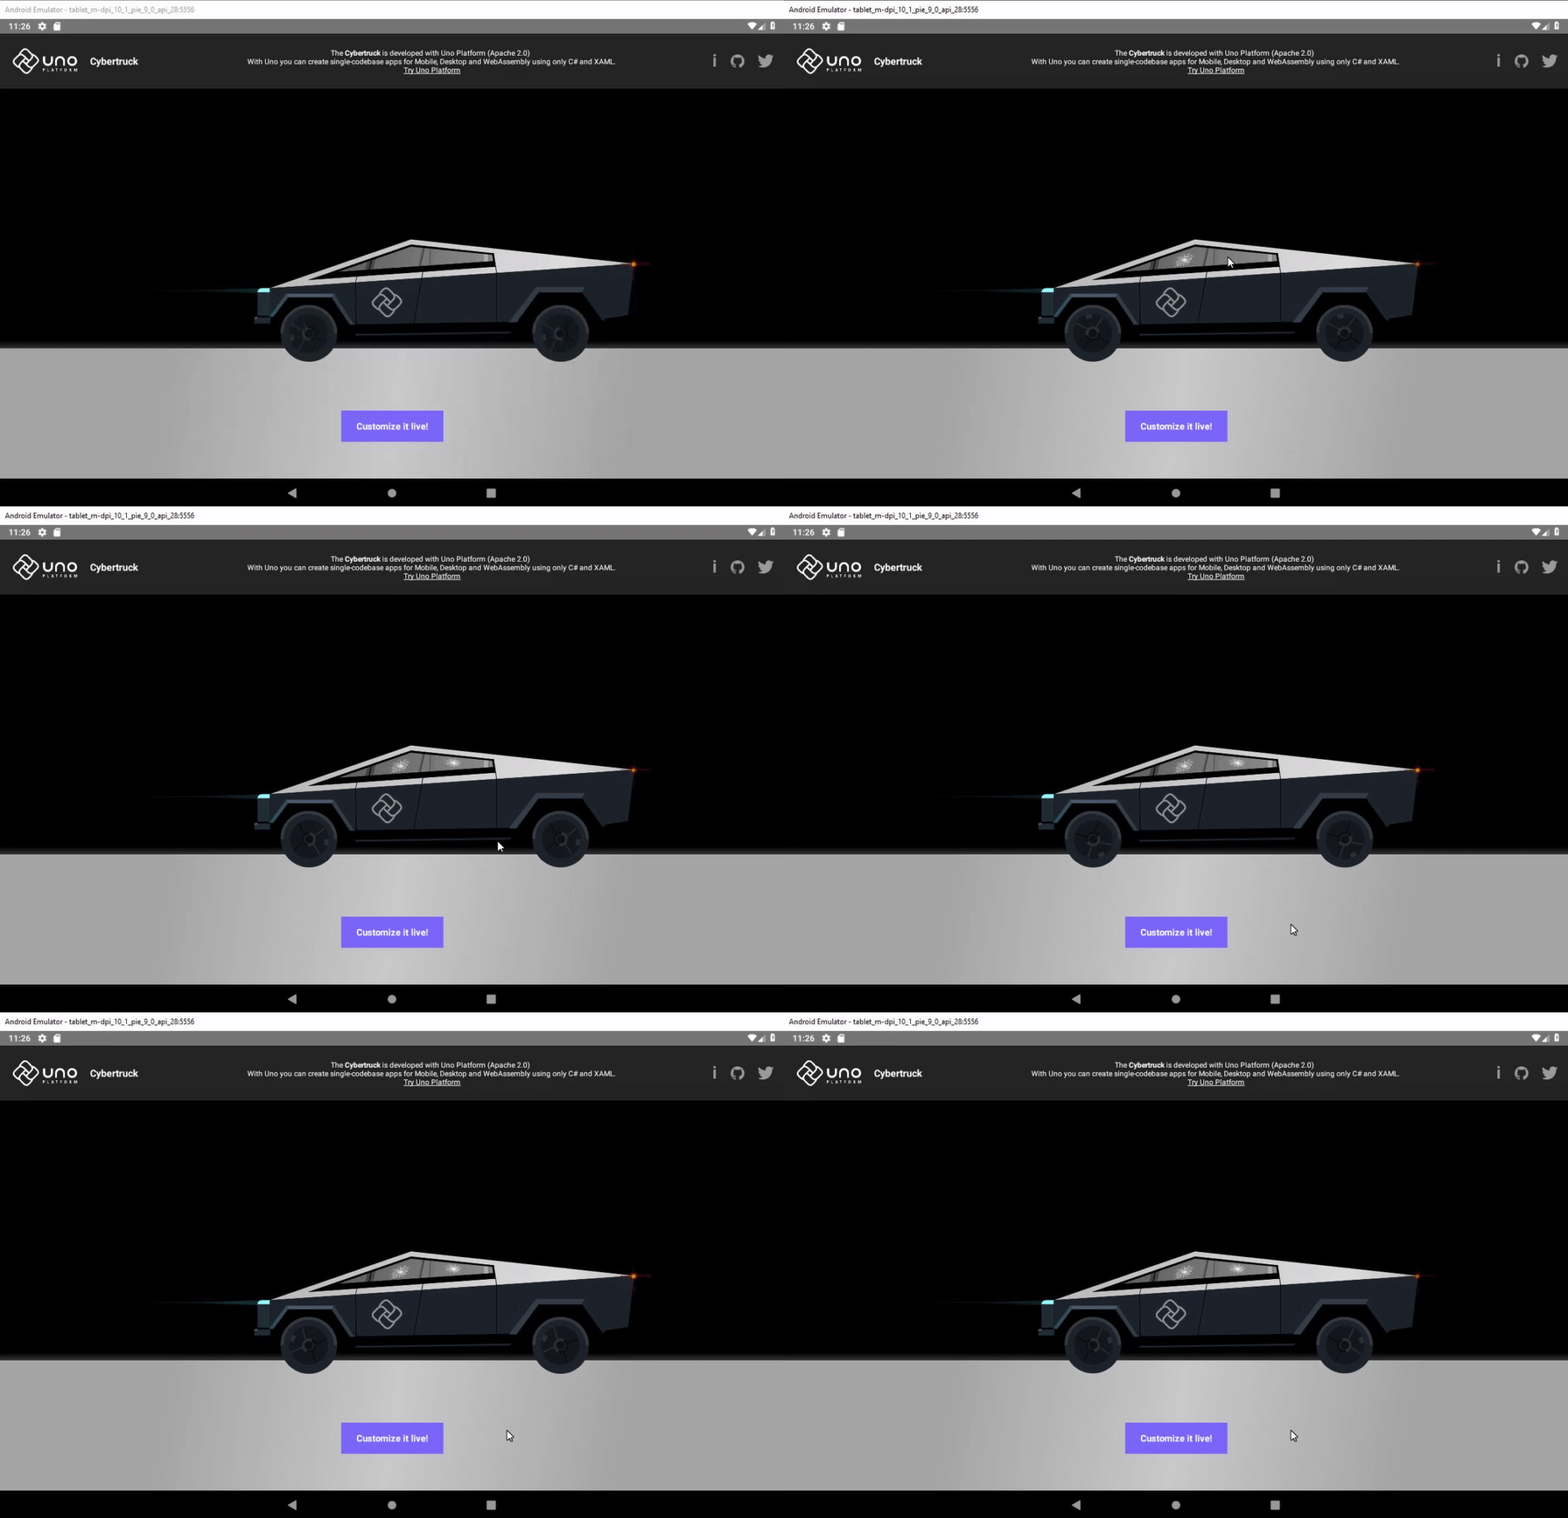
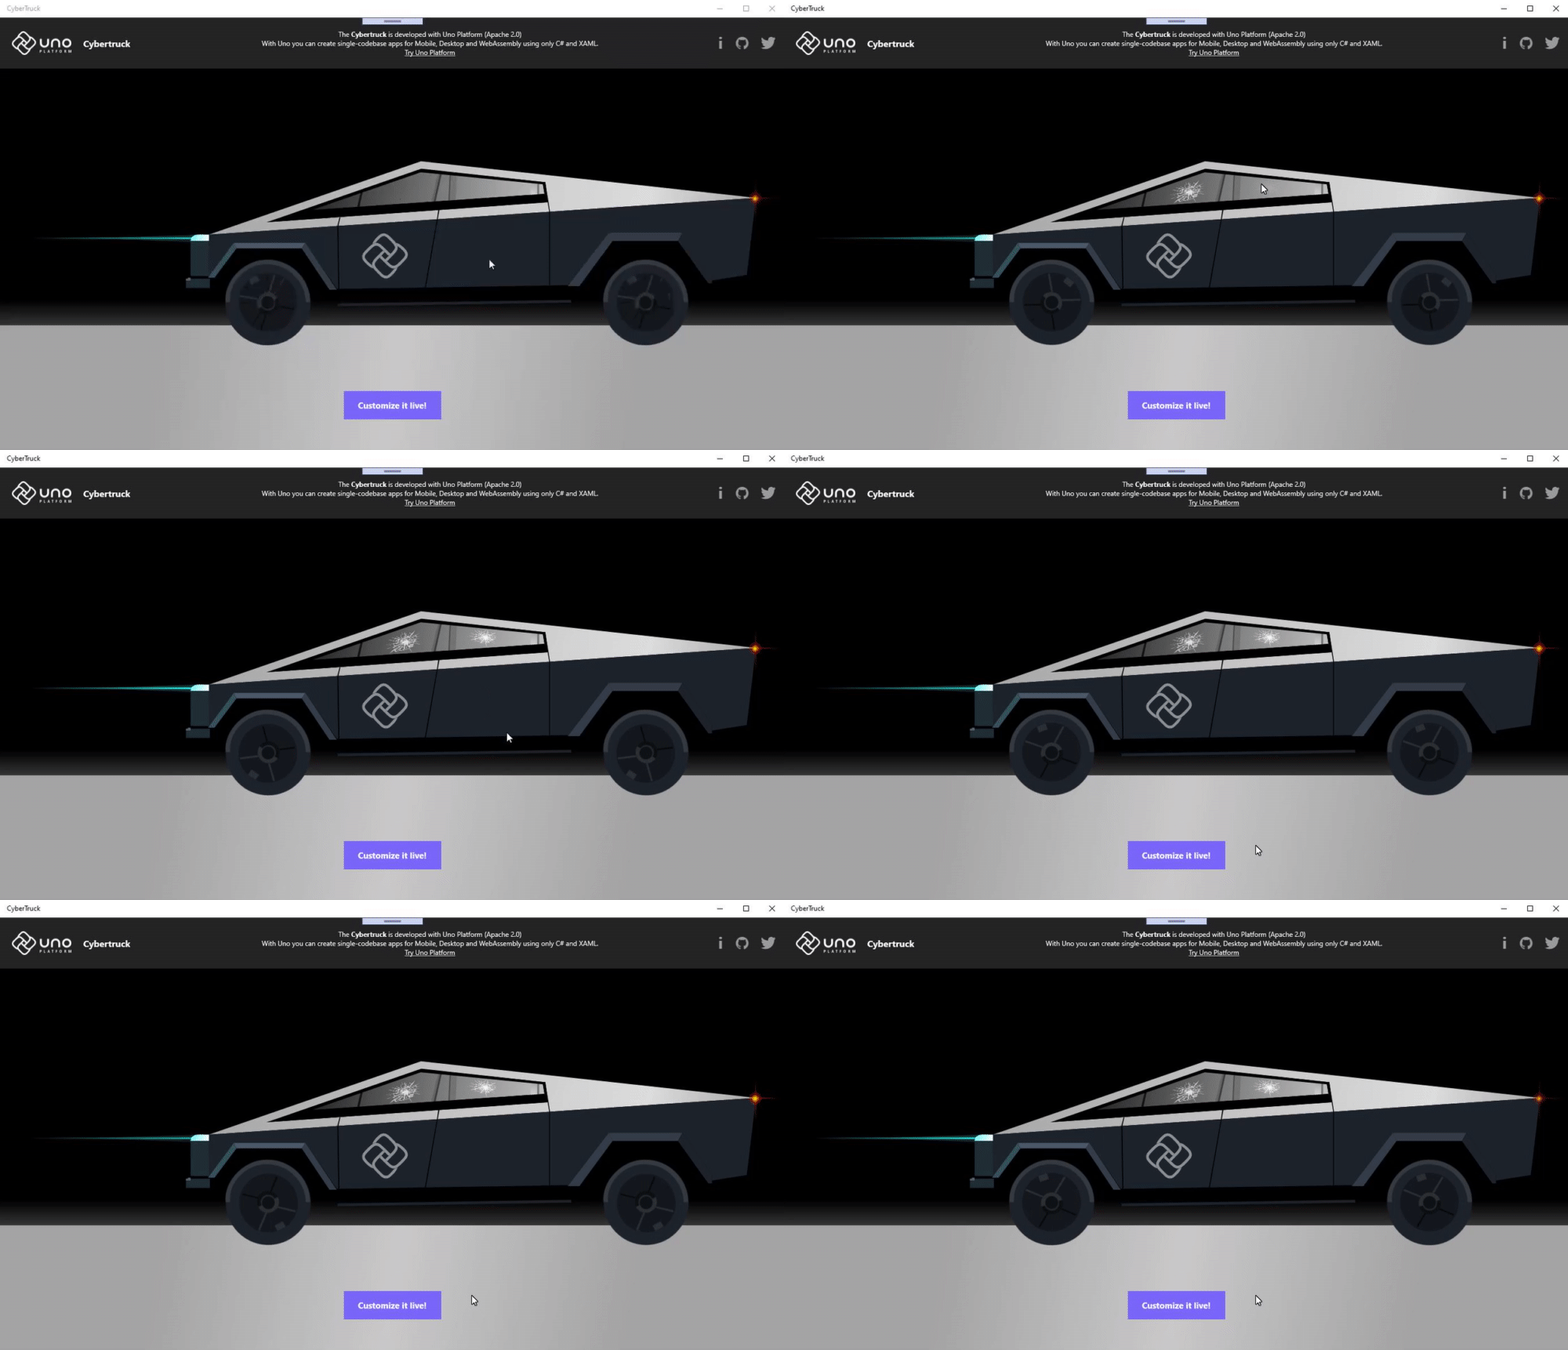
If you’d like to see Cybertruck run cross-platform or iOS, Android and Deslkop too, the code is available for you to compile from Cybertruck – Uno Platform GitHub. Here are a few emulator screen captures.
Next Steps
If you want to keep improving this XAML mock–up of the CyberTruck, the code is available at Uno Platform GitHub and we will happily accept contributions.
We’d of course appreciate if you give Uno Platform a try. We have a complete step-by-step tutorial available on GitHub. Or, if you’d prefer something more comprehensive, a full day workshop is also on GitHub.


 Subscribe to Our Blog
 Subscribe via RSS
 Back to Top


